Pate Choux - Let's learn how to make a classic and versatile basic French pastry dough, pronounced "pa-tay shoe"! In this post, we will simplify and explain what many think of as a daunting recipe. It only takes 7 ingredients, and 7 simple steps.
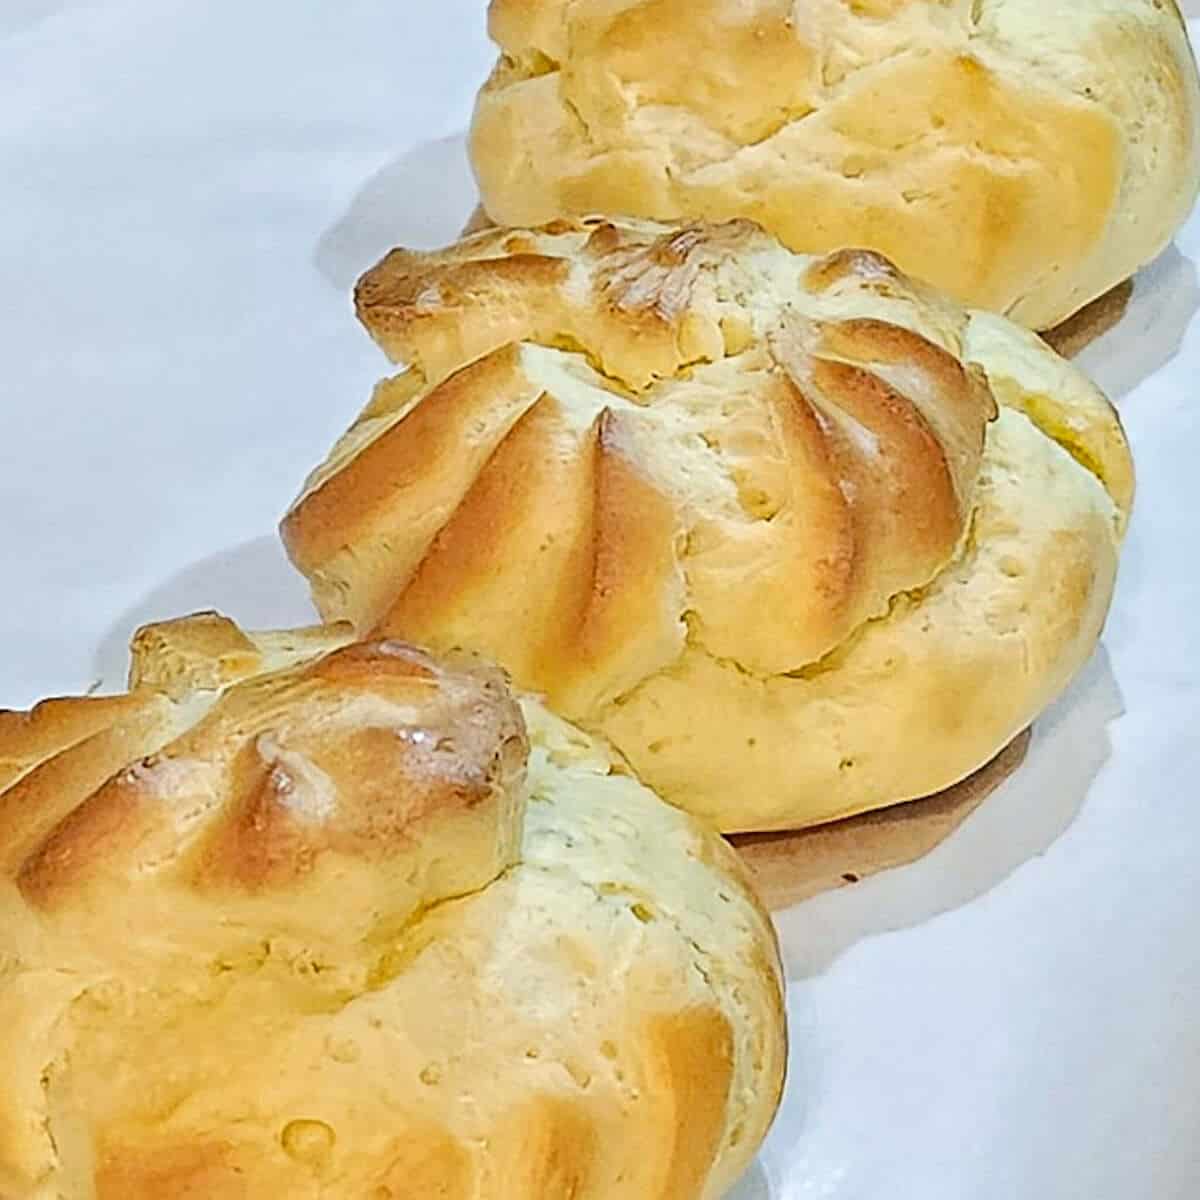
So many incredible pastry treats have their beginnings with pate choux. Eclairs, profiteroles, French crullers, churros, and that's just a few of the sweet things! There are also many savory applications that start with this soft and airy dough, such as gougeres, with cheese and fresh herbs added.
We use choux pastry to make our matcha cream puffs, and we love to coat them with chocolate ganache.
Jump to:
What is Pate a Choux?
Most pastry and bread doughs rely on yeast or baking powder/soda for leavening. Leavening is the process of creating air pockets in the dough, to be captured in the cooked and finished product, therefore making it lighter in texture.
Choux pastry is one of the few examples of a pastry that doesn't rely on either of these leavening agents. Instead it uses the precise balance of water becoming steam and eggs holding it together to achieve the same affect.
The most amusing aspect in the definition of pate choux is in it's name. "Choux", when translated from French, means cabbage! The theory behind the origin of this moniker is that the finished baked dough, with it's distinctive cracks and fissures, somewhat resembles the vegetable in question. Some foods just really have the strangest names.
Newest Recipe!
Lexington Style BBQ Sauce
This sauce is an all time classic. Easy, quick, and made with ingredients you probably already have!
Ingredients
All of the ingredients to create these multi textural wonders are basic pantry items that pretty much everyone should already have.
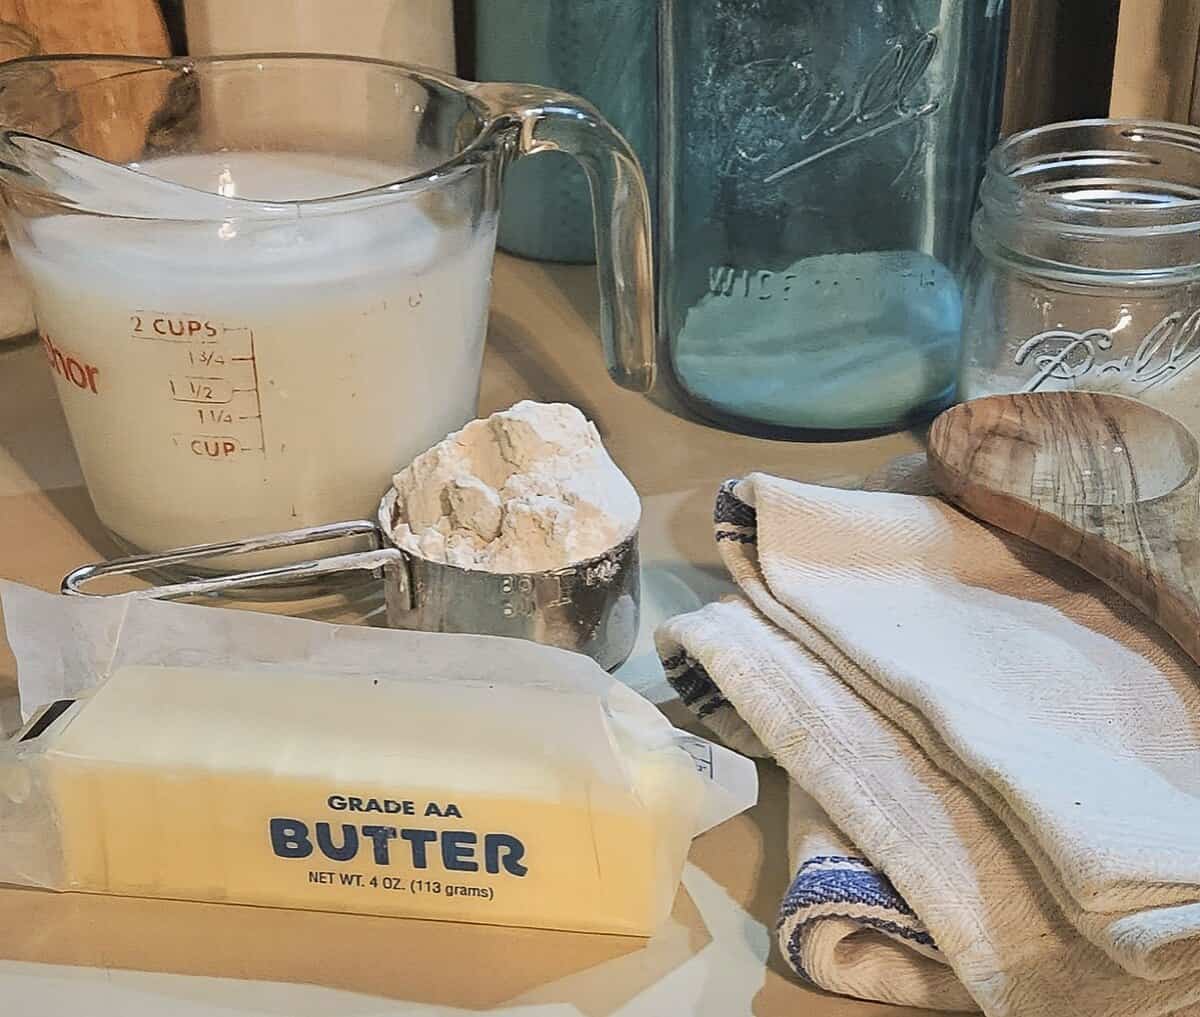
- Butter - we always use unsalted butter to bake with, so we can control the salt in the recipe very precisely.
- Flour - all purpose
- Milk - the lactose in milk helps with the browning of the dough.
- Water - mixed with the milk in equal amounts, there is some science behind this, dealing with the gelatinization of the flour, and therefore capturing the steam in the dough, we won't be covering that here, but serious eats covers it quite well, if you're interested.
- Sugar - this ingredient is optional, but adds a nice bit of sweet flavor to the finished batter.
- Salt - you absolutely must have some salt in order to avoid this choux dough tasting like nothing but starchy flour.
- Eggs (Not shown) - many baking recipes call for yolks or whites separately, we will use the whole eggs in this cream puff dough recipe.
See recipe card for quantities.
Instructions
Step One - Heating and Flavoring the Liquid
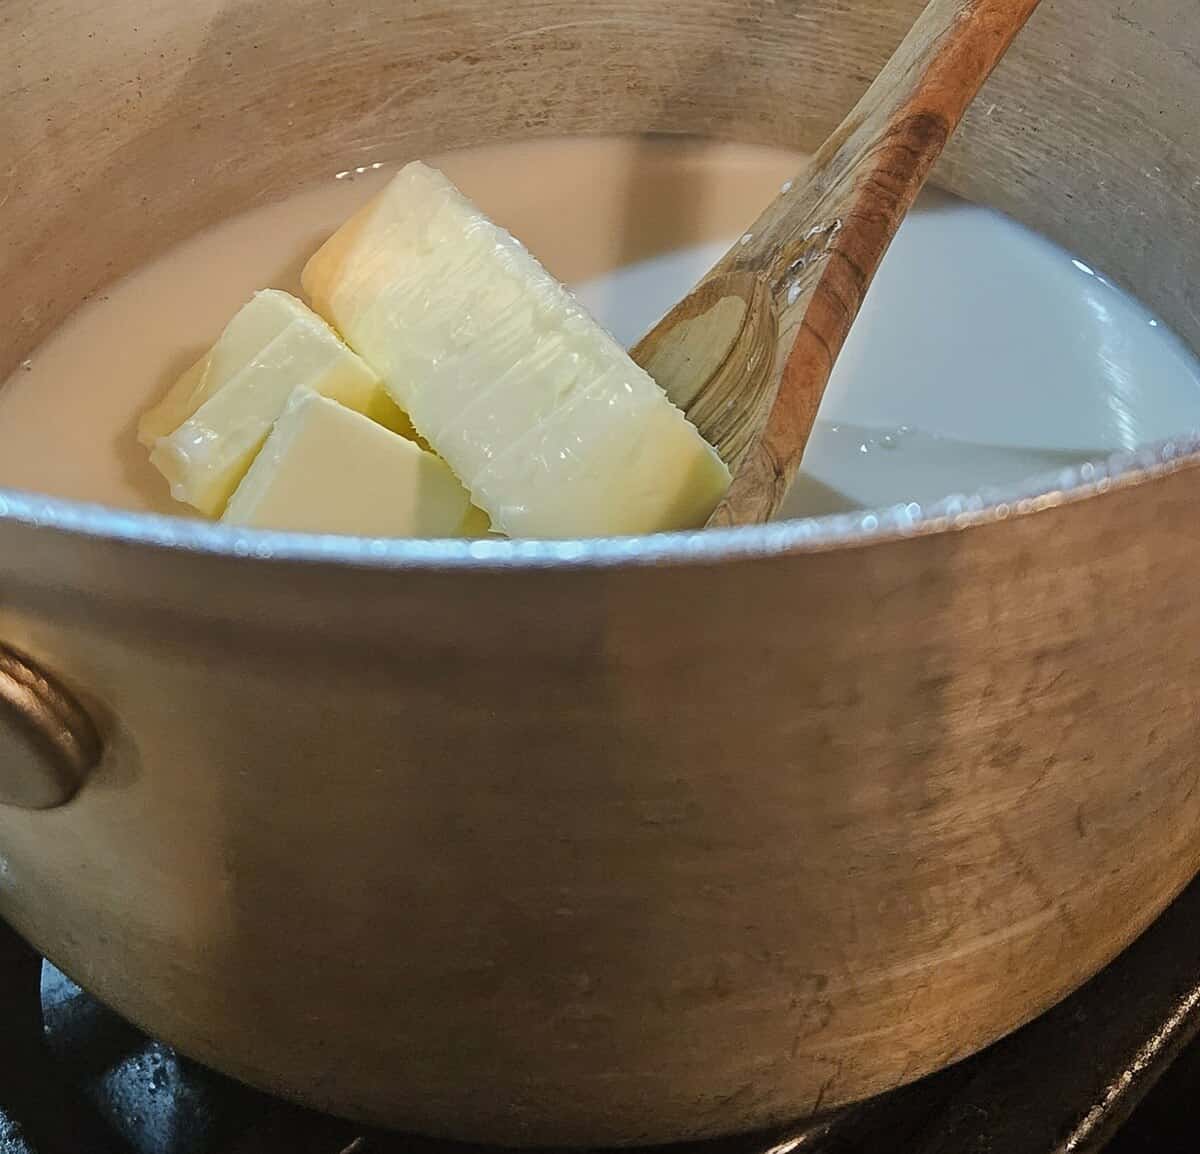
Combine the butter, sugar, milk, and water, and heat gently.
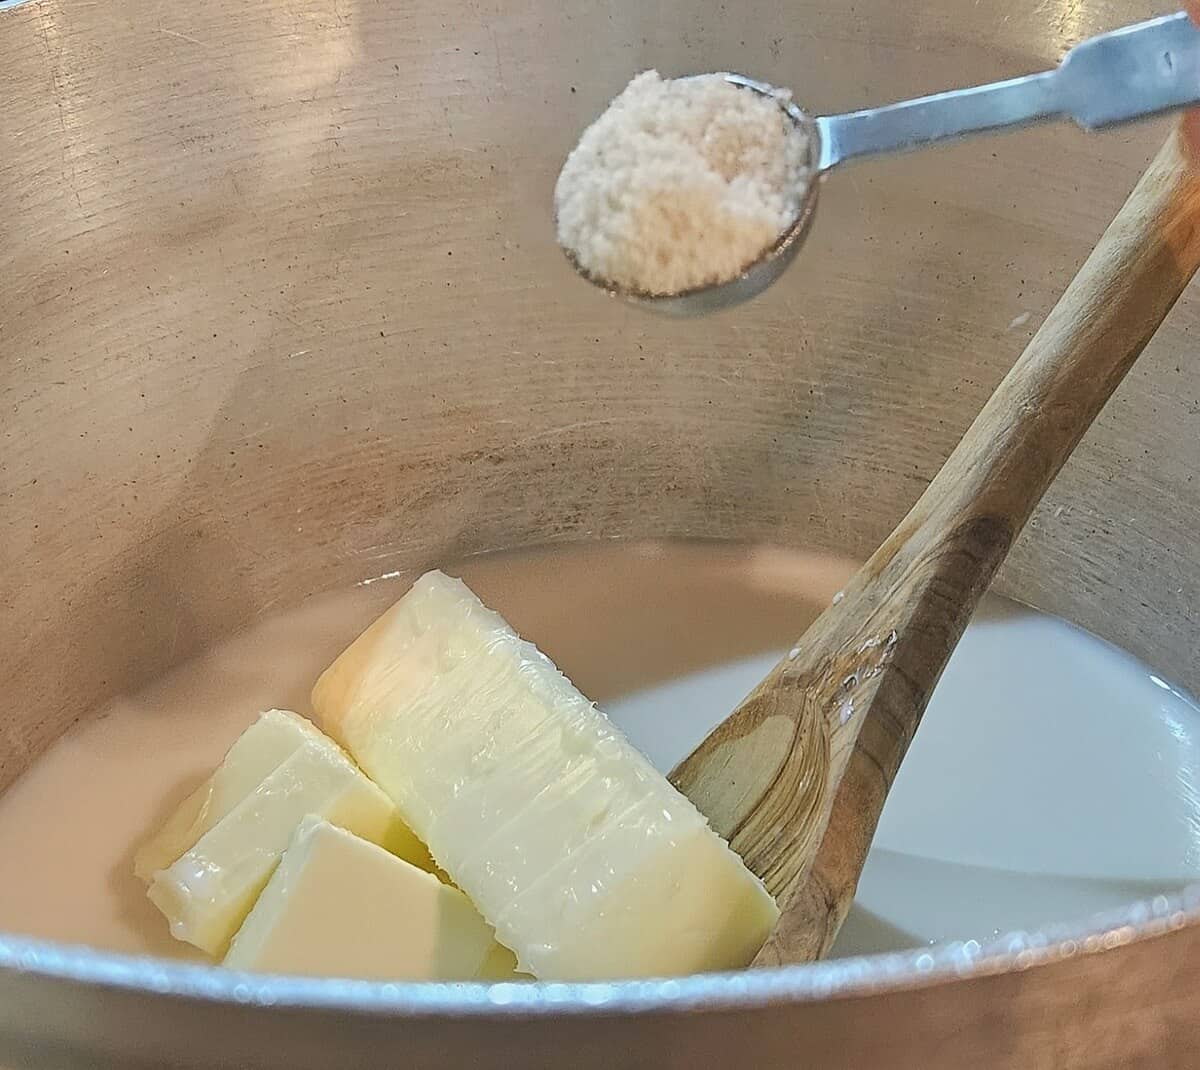
Add the salt.
Step Two - Adding Flour to Start the Dough
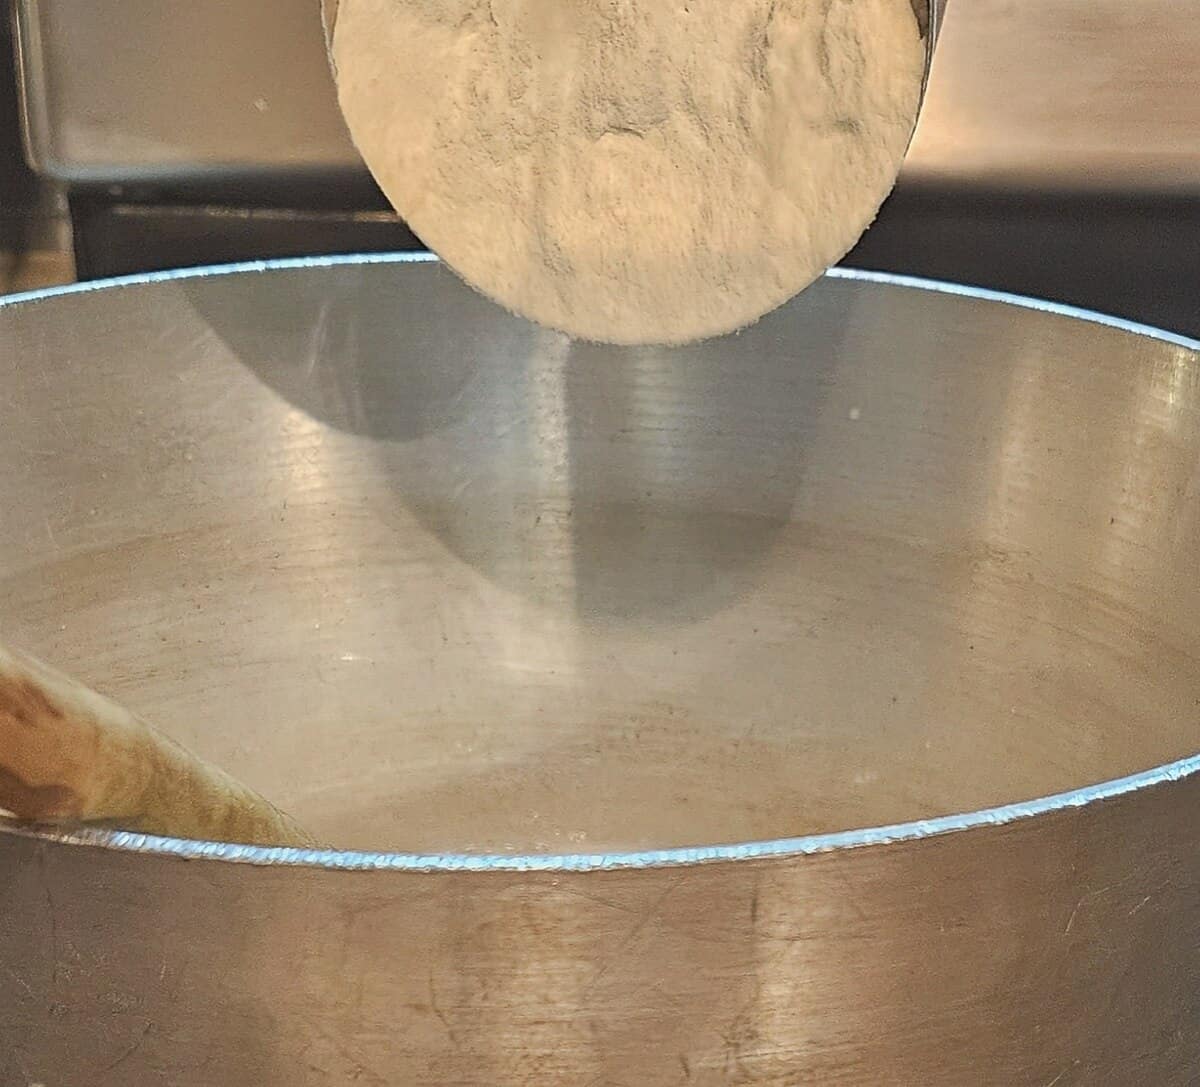
Add the flour to the saucepan, stirring with a wooden spoon to evenly incorporate.
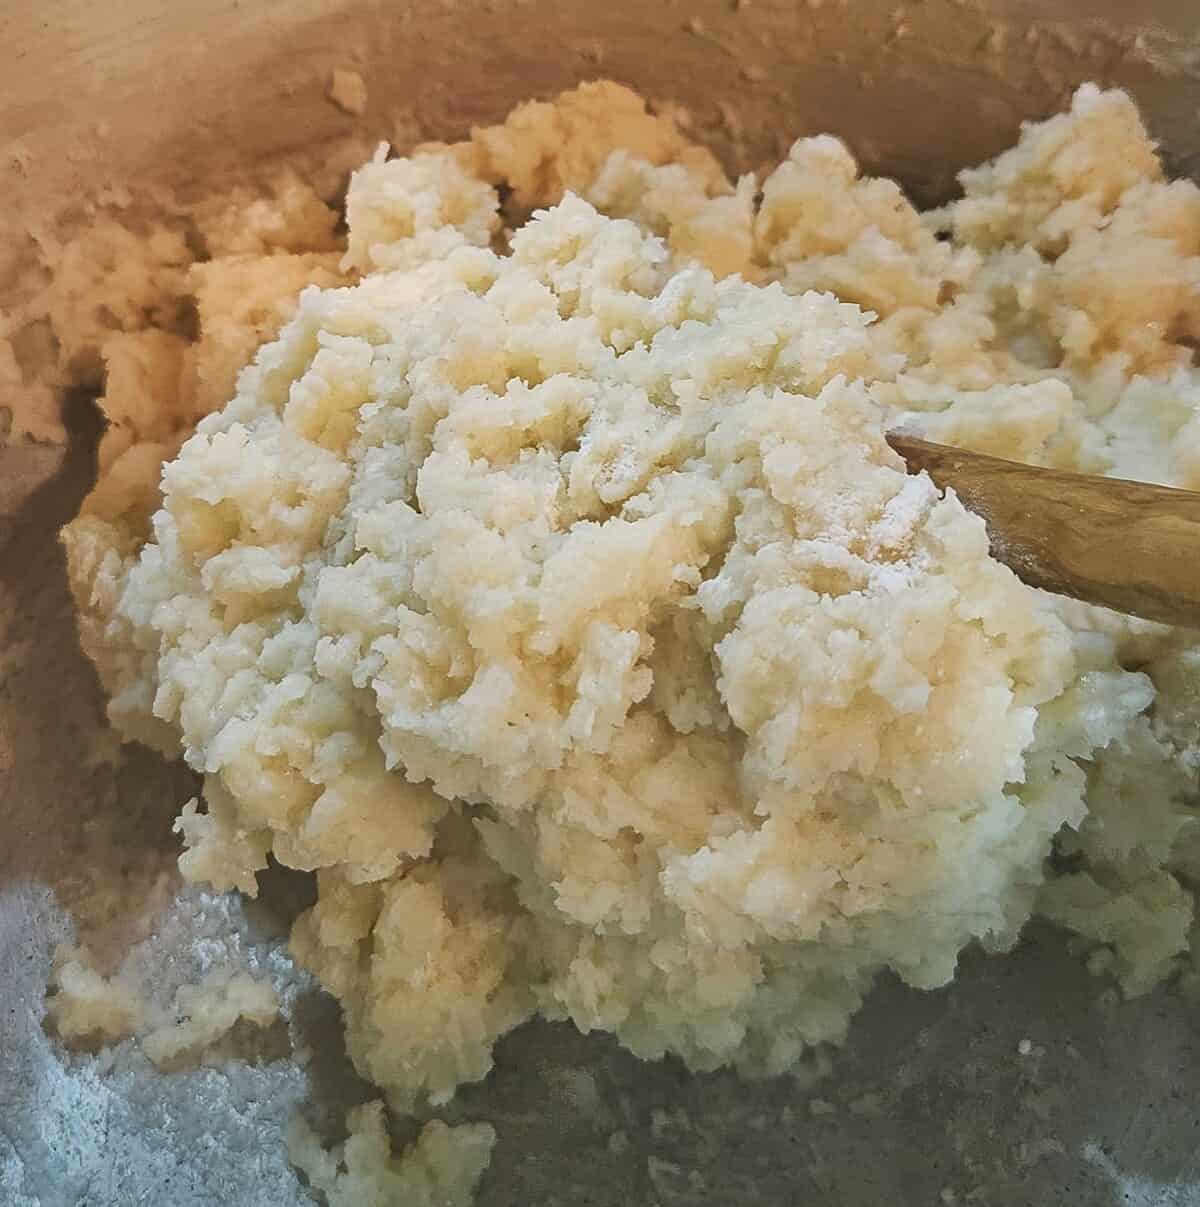
Once the flour is all added, it will look like this. Quite sticky, and lumpy. Keep stirring in order to avoid browning or scorching during this process.
Step Three - Cooking and Stirring to Form a Paste
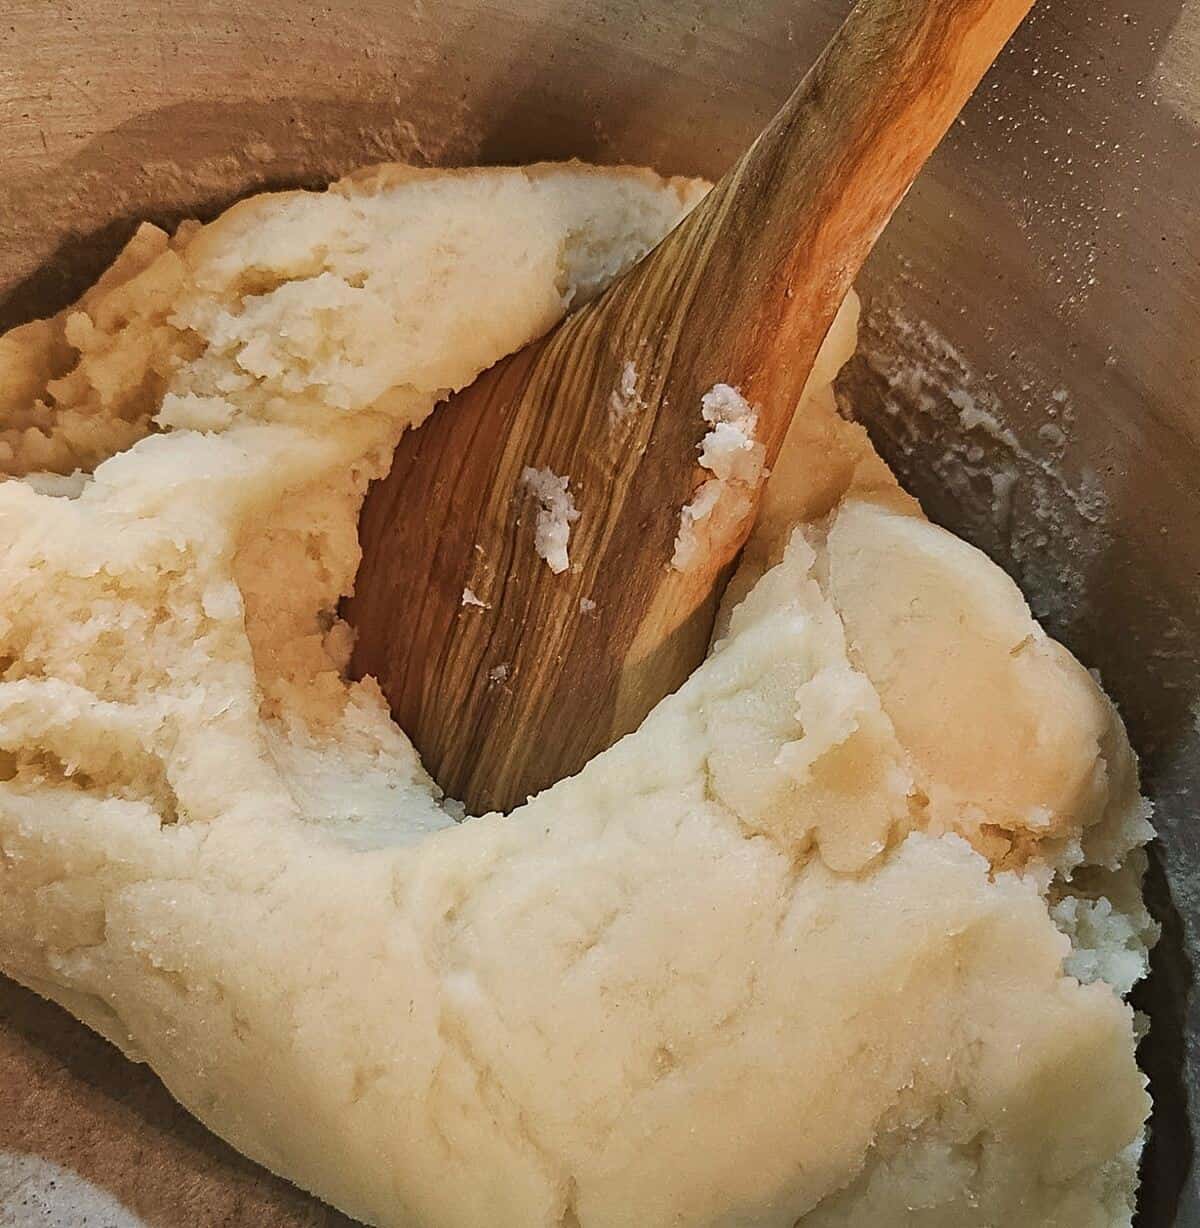
This process is mostly about cooking the excess moisture out of the dough in order for it to come together in a smooth paste-like consistency. You can see that it starts to get smoother, andcome away from the edges of the pan.
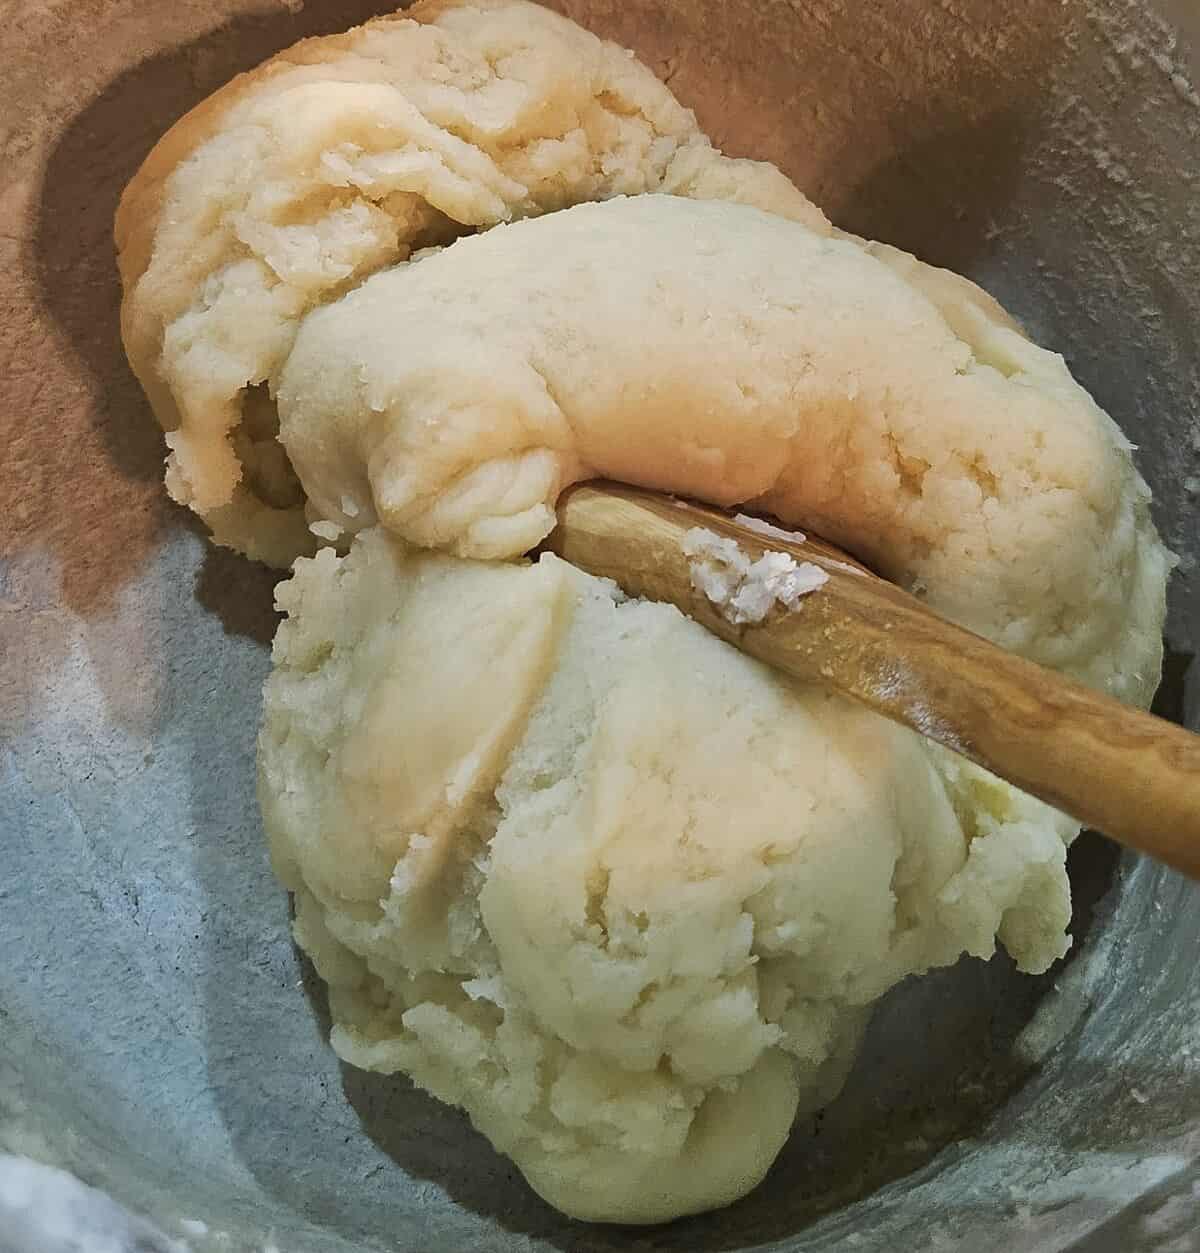
Now is when it is ready to remove from the pan, when it has become smooth in appearance uniformly, and is easily coming away from the pan.
Step Four - Using the Mixer to Cool the Dough

Plop the whole mess into the mixer.
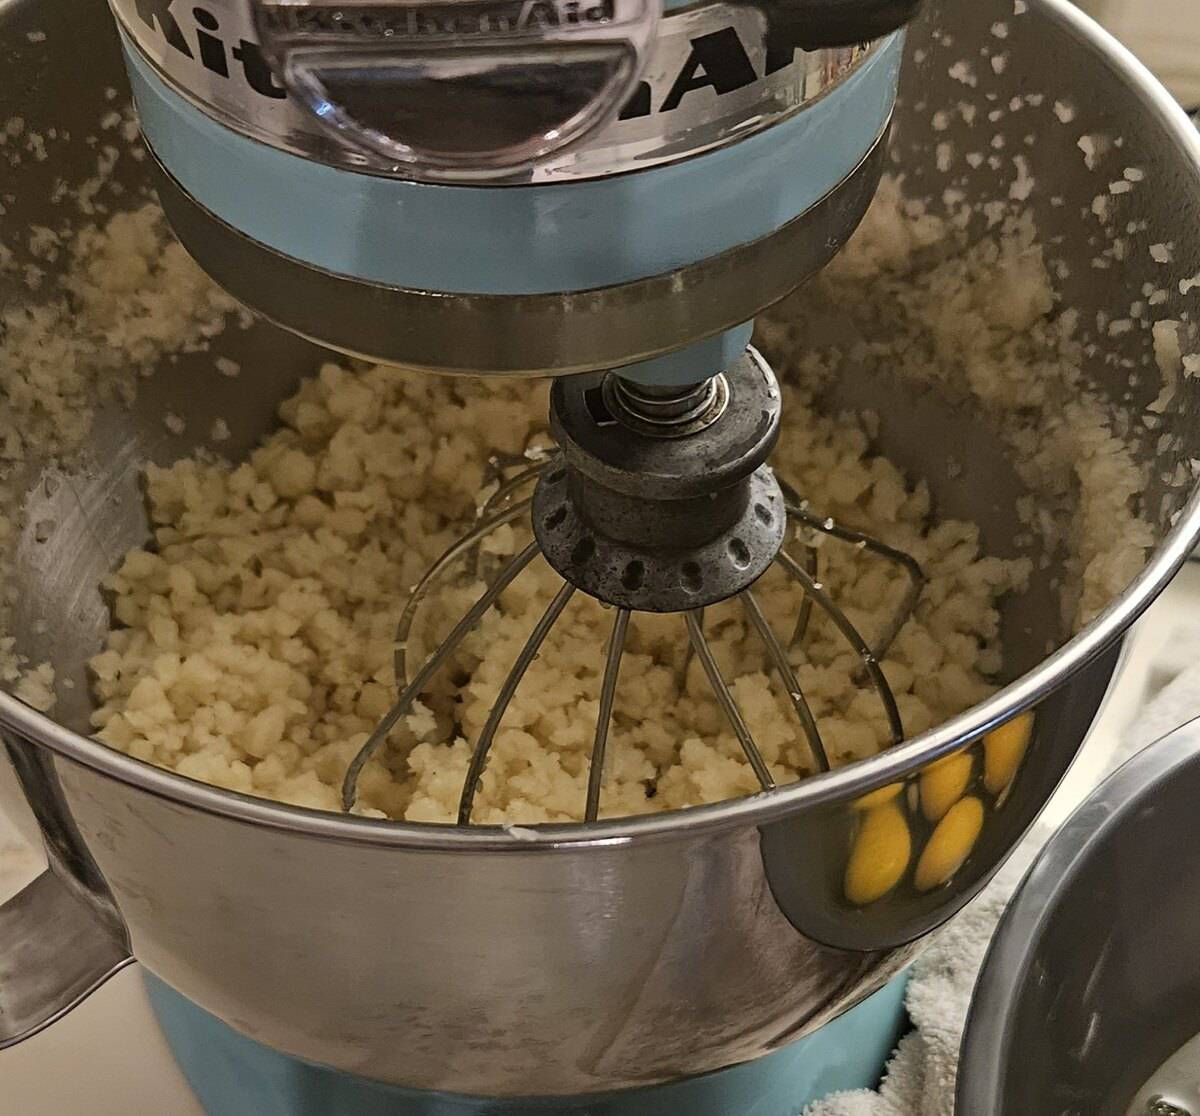
Mix the dough in order to allow the heat to escape.
Step Five - Start adding Eggs

Once the dough is room temperature, make sure to scrape down the sides of the bowl. Notice the eggs waiting to be added.
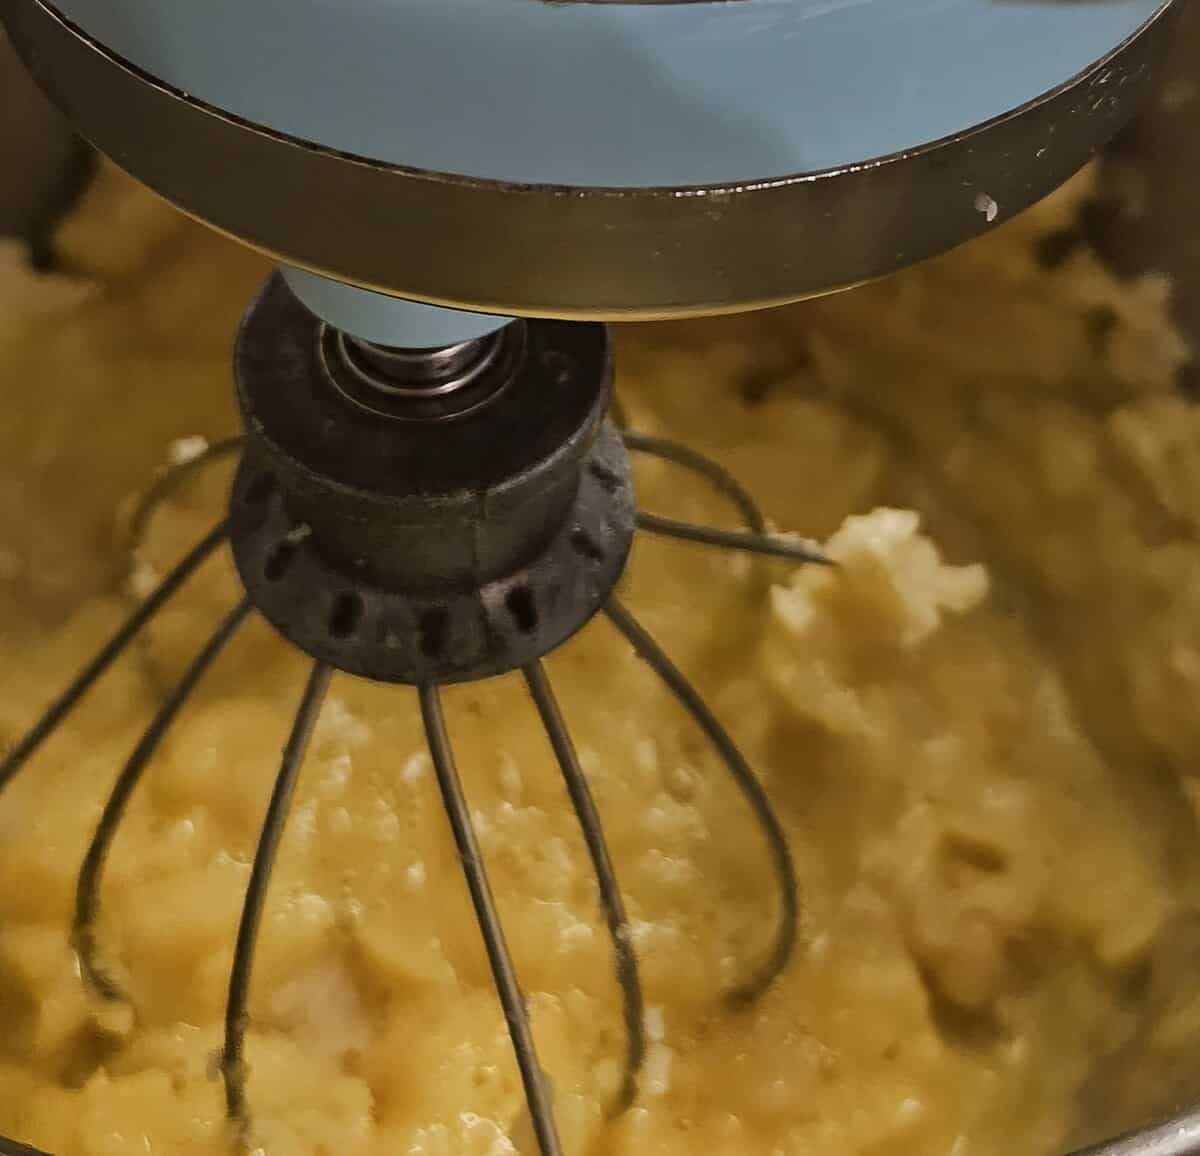
Here you see the way the dough looks as the eggs are added slowly, a little at a time. Mix until each addition is fully incorporated and mixed in.
Step Six - Finishing the Batter, Piping on to a Pan
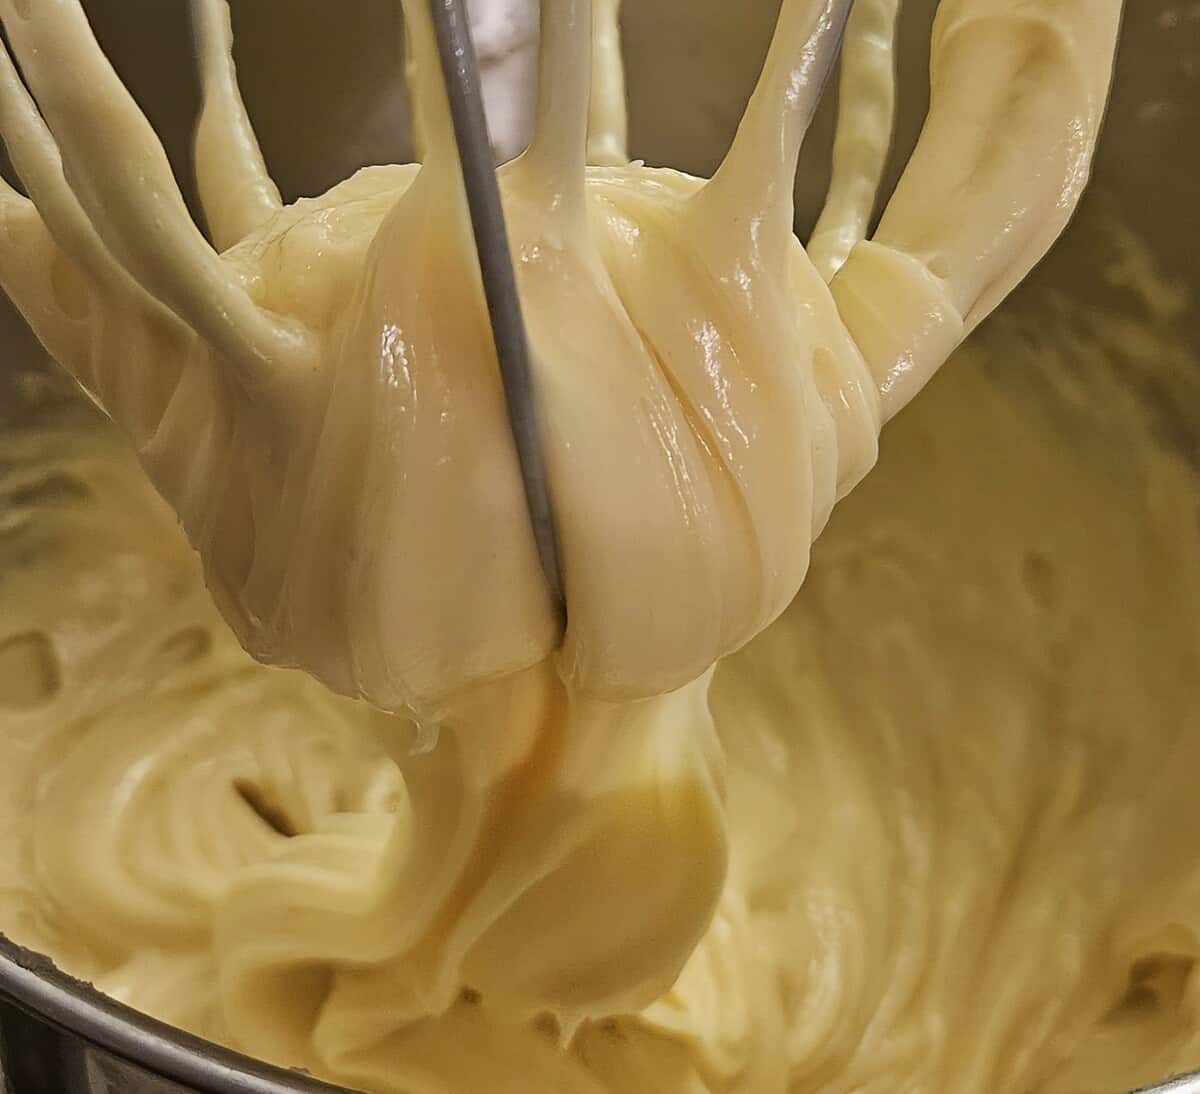
Once enough egg is added, you will have a shiny, thick, and most importantly, pipeable consistency

Place the finished batter into a piping bag, and pipe out on to the surface of a parchment lined sheet pan.
Step Seven - Forming and Baking
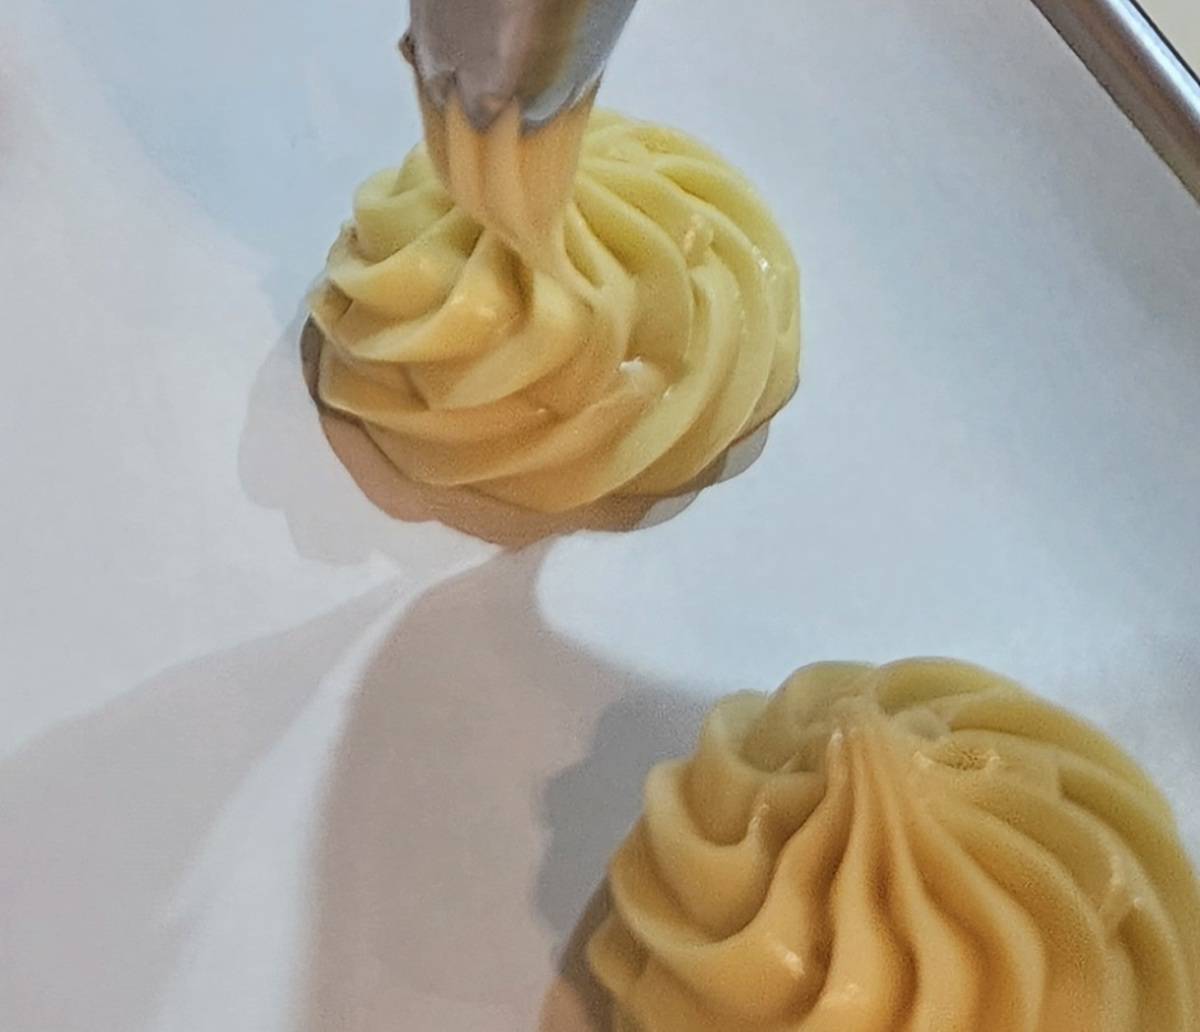
In this case, we are forming cream puff rosettes to bake. As mentioned earlier, this basic dough can be treated several different ways at this point to make many types of products.

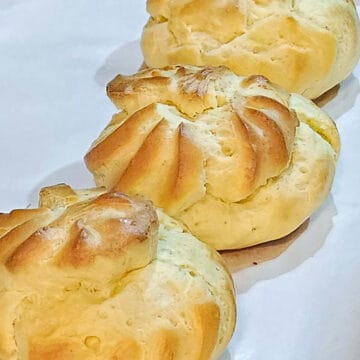
When it is finished baking, it will appear golden brown like this, with a multitude of different textures going on. Light, soft, and puffy inside, crisp, chewy, and rich on the outside!
Helpful Hint
It is super important that the dough coming out of the saucepan is at the proper level of moisture. You will best be able to gauge this by paying close attention to the consistency of it. The mixture will go from being sticky and lumpy, to a semi-solid single mass. It will pull away from the sides of the pan, and will tend to form into one ball, as opposed to spreading out. I've always found this to be a fun and interesting part of this recipe, it goes through multiple stages, each one as a disparate form of mass.
Variations
There are a few different ways to make this versatile dough, here's a few that come to mind:
- Savory - add cheese and herbs, and omit the sugar.
- Chocolate - add some cocoa powder to the dough, and a little more sugar
- Gluten Free - I'm told that using some gluten free 1 to 1 flour works well, although we have not tested this, if you try it out, please let us know how it came out in the comments!
Storage
To make ahead and store, there are a few different options:
- You can make the recipe up to the raw batter before it gets baked, and store this in the fridge for up to 3 days, or freeze it for up to 1 month, before thawing and/or piping and cooking.
- The finished baked choux dough will stay fresh tightly sealed in the refrigerator for 2 days, or frozen for up to 2 weeks.
- If you finish the dough and then fill it with a cream filling, like our matcha cream, the finished dessert will stay fresh wrapped in the refrigerator for a couple of days. We can not recommend freezing them at this stage.
Chef Tip
Make sure not to open the oven to check on these until the time allotted in the recipe has expired! Better yet, if you can turn on the light and peek into your oven to check the level of doneness visually before opening, do it. Changing the level of moisture and the temperature in the oven during baking will quite possibly ruin the lovely texture of these treats.
Related
Looking for other recipes like this? Try these:
These are my favorite dishes to serve with [this recipe]:
Recipe
Pate Choux (Cream Puff Dough)
Equipment
- 2 baking sheet pans
- 1 stand mixer with whip attachment or handheld mixer with a mixing bowl
- 1 Saucepan
- 1 wooden spoon
- 1 measuring spoons
- 1 Measuring cup set
- 1 Rubber Spatula
- 1 Mixing Bowl for the eggs
- 1 piping bag a star tip or straight tip can be used
- 2 sheets of parchment paper
- 1 Cooling rack
Ingredients
- 1 cup Water
- 1 cup Milk
- 8 oz. Butter unsalted
- 1 teaspoon Salt
- 1 tablespoon Sugar
- 2 cups Flour
- 8 whole Eggs
Instructions
- In a saucepan combine the milk, water, sugar, salt, and butter.
- Bring the mixture to a simmer melting the butter and combining the salt and sugar.
- Turn the heat to low to medium, and add the flour, stirring to combine.
- Using a wooden spoon, continue stirring the mixture, forming a thick paste.
- Keep the paste mixture moving in the pan using the wooden spoon, being careful not to let it scorch.
- When the paste appears dry and smooth, remove it from the heat.
- Place the paste mixture in the bowl of a mixer fitted with the whip attachment.
- Turn the mixer on low and mix the paste allowing it to cool, the bowl should feel room temperature or cooler before adding the eggs. This will take a few minutes, it is a very important step in the process. Ensuring the mixture is cooled down before adding the eggs, is critical in the success of the dough.
- Scrape down the sides of the bowl of the mixer, crack the eggs into a separate bowl and with the mixer on medium speed add the eggs one at a time, scraping the bowl after each addition to ensure they are fully incorporated.
- The mixture should be smooth and silky when you are finished adding the eggs.
- At this point you could place it into a sealed container, into the refrigerator for future baking, or preheat the oven to 400℉ and line 2 baking sheets with parchment paper.
- Place the finished dough into a piping bag, with your selected tip, pipe the finished dough onto the lined baking sheet.
- Place in the oven at 400℉ for 20 minutes and being careful to not open the oven during this time, turn the oven down to 350℉, and continue baking for 15 minutes.
- Remove from the oven and place on a cooling rack until the puffs are completely cool before adding cream, ice cream or selected garnishes. Enjoy!






moorebr667
The challenge has been made. This makes it look so easy. I’m definitely going to try this recipe.
Jason Miller
Please let us know how they came out!