This gluten-free version of a traditional Irish soda bread recipe is perfect for St. Patrick's day, but is equally delicious any time of year! It has a soft interior surrounded by a crisp outer crust and chewy sweet raisins buried throughout.
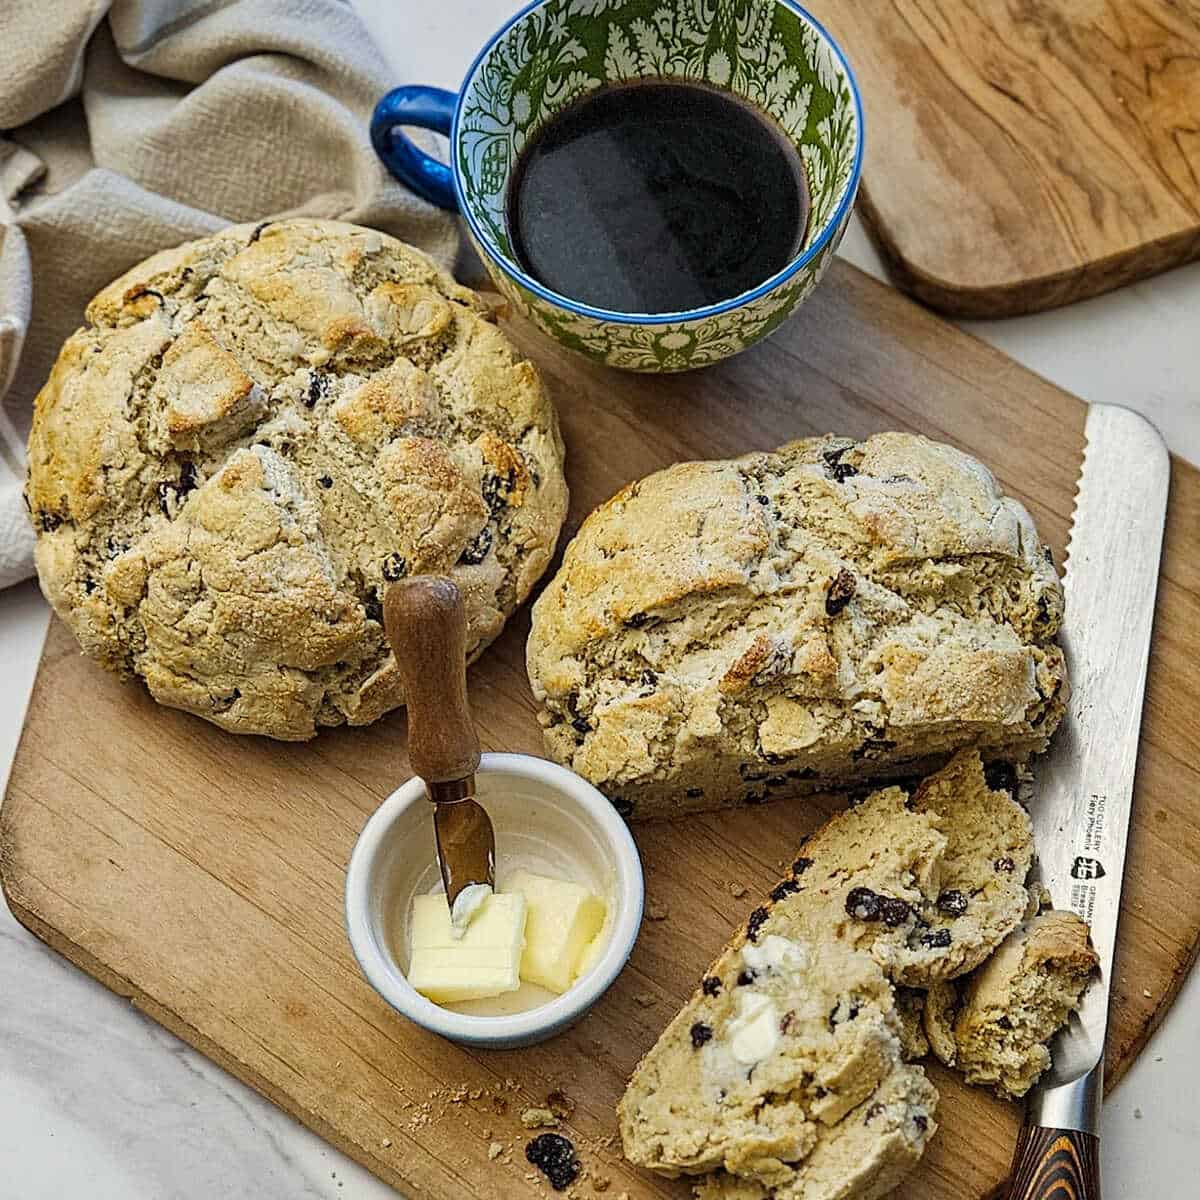
When spring comes around in March, everything is popping up with shamrocks, leprechauns, and of course Irish food, as well.
To stay true to our seasonal cooking and eating roots, we posted our horseradish sauce recipe for your holiday corned beef and potatoes. We were inspired to create this post as gluten free because of our continuing mission to not leave our friends with celiac disease out of anything. We have plenty of other gluten free recipes, including crispy cauliflower bites and veggie stir fried rice noodles, and many more!
Jump to:
What is Soda Bread?
Simply put, Irish soda bread was originated as an easy homemade bread solution to be able to best utilize the soft variety of wheat that grows well in the region. The harder grain varieties are the ones preferred for yeast breads.
A warm, golden brown slice of soda bread, slathered in cultured Irish butter, is the perfect accompaniment to a nice cup of tea or coffee. It's also delicious with a little honey or jam to satisfy your sweet tooth.
Traditional soda bread is one of the first recipes in history to qualify as a quick bread. Where other breads are either leavened with yeast, or not at all, quick breads use baking soda combined with some kind of acid as a leavening agent. The acid can be of almost any kind for a quick bread, (lemon juice, white vinegar, apple cider vinegar), but buttermilk is the agreed upon standard for soda bread. Think of quick breads as the family of biscuits, muffins, and cornbread to name a few. The closest relative in this family to Irish soda bread would be scones.
This easy recipe is our own version, a gluten-free soda bread, using simple ingredients.
Newest Recipe!
Lexington Style BBQ Sauce
This sauce is an all time classic. Easy, quick, and made with ingredients you probably already have!
Ingredients
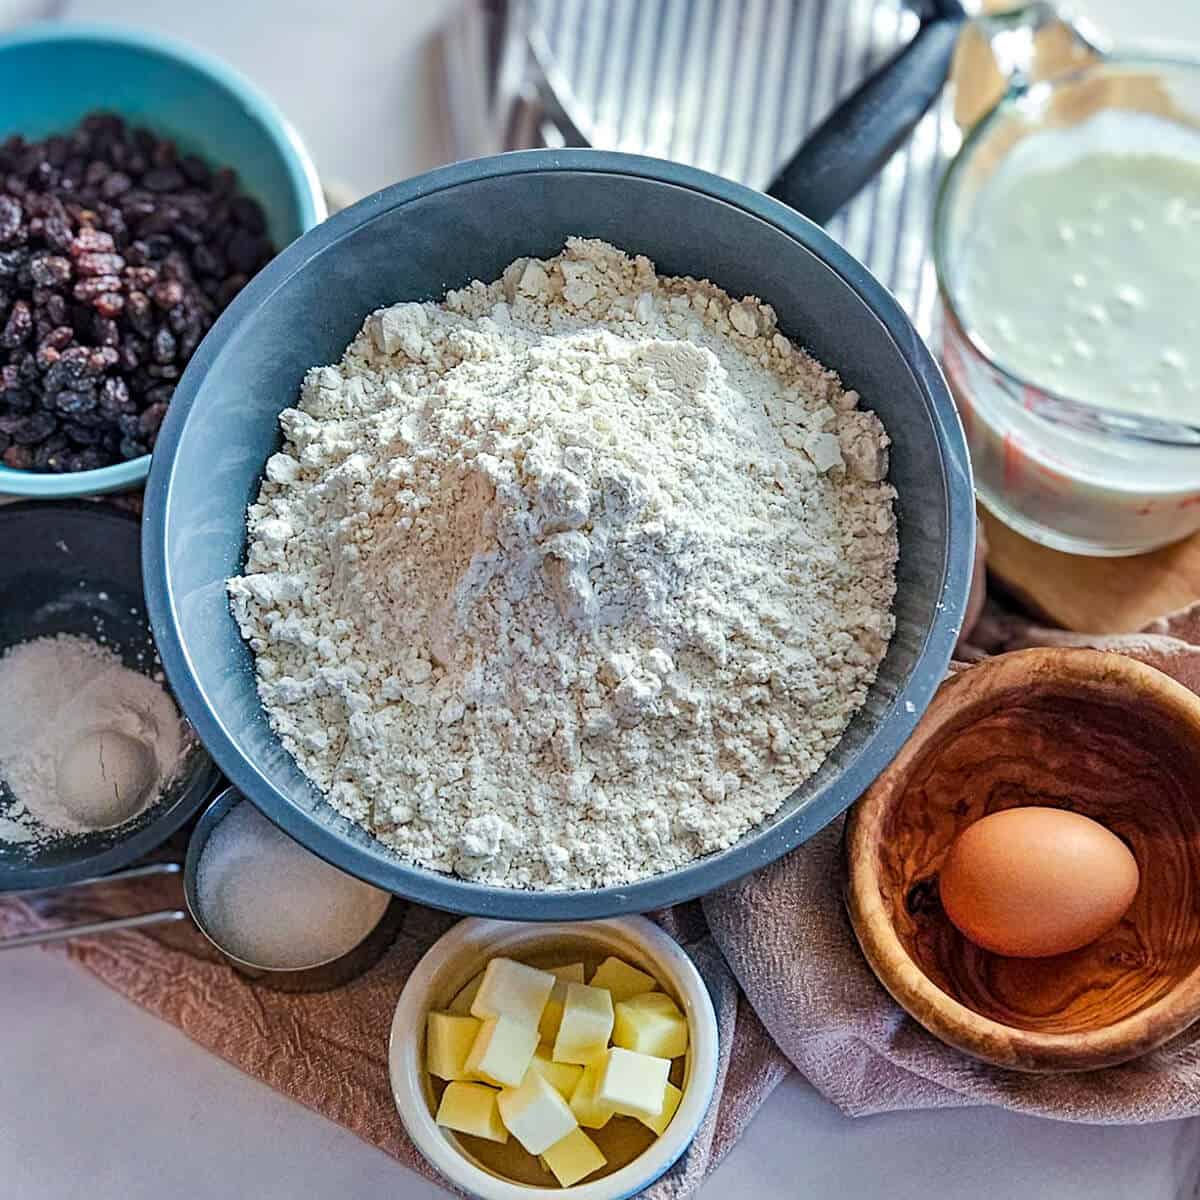
- Raisins - While these are not entirely traditional in Ireland, we like to use them here to contribute a little texture and pop of flavor. Golden raisins can be thrown in if you prefer, but we like the darker color. If raisins are not your favorite, feel free to leave them out, or see the variations section below for alternatives.
- Gluten-free flour blend - We have had great success using Bob's red mill 1 to 1 gluten free flour mixture for this gluten free Irish soda bread.
- Buttermilk - Once upon a time, this ingredient was literally in the form of sour milk. Now we can just use this instead of having to purposely let the milk go bad.
- Egg - This ingredient is included to give the dough some structure, an attribute missing in many gluten-free breads.
- Unsalted butter - If you can find Irish butter that is unsalted, use that for sure. As always though, for best results we want to be in control of the amount of salt in the recipe, and salted butter varies in the amount added from one brand to the next.
- Sugar - Brown sugar would skew the amount of moisture in this recipe, so we opted for a little white sugar instead.
- Baking soda - This is the magic ingredient that will cause this dough to rise. Buttermilk provides the acid to create the chemical reaction.
- Baking Powder- The acid in the baking powder provides an extra lift for the rise in the dough.
- Salt - Some kosher salt keeps this bread from being bland.
See recipe card for quantities.
Instructions
Step One - Combine Dry Ingredients

Place gluten free flour into a large bowl and add sugar.
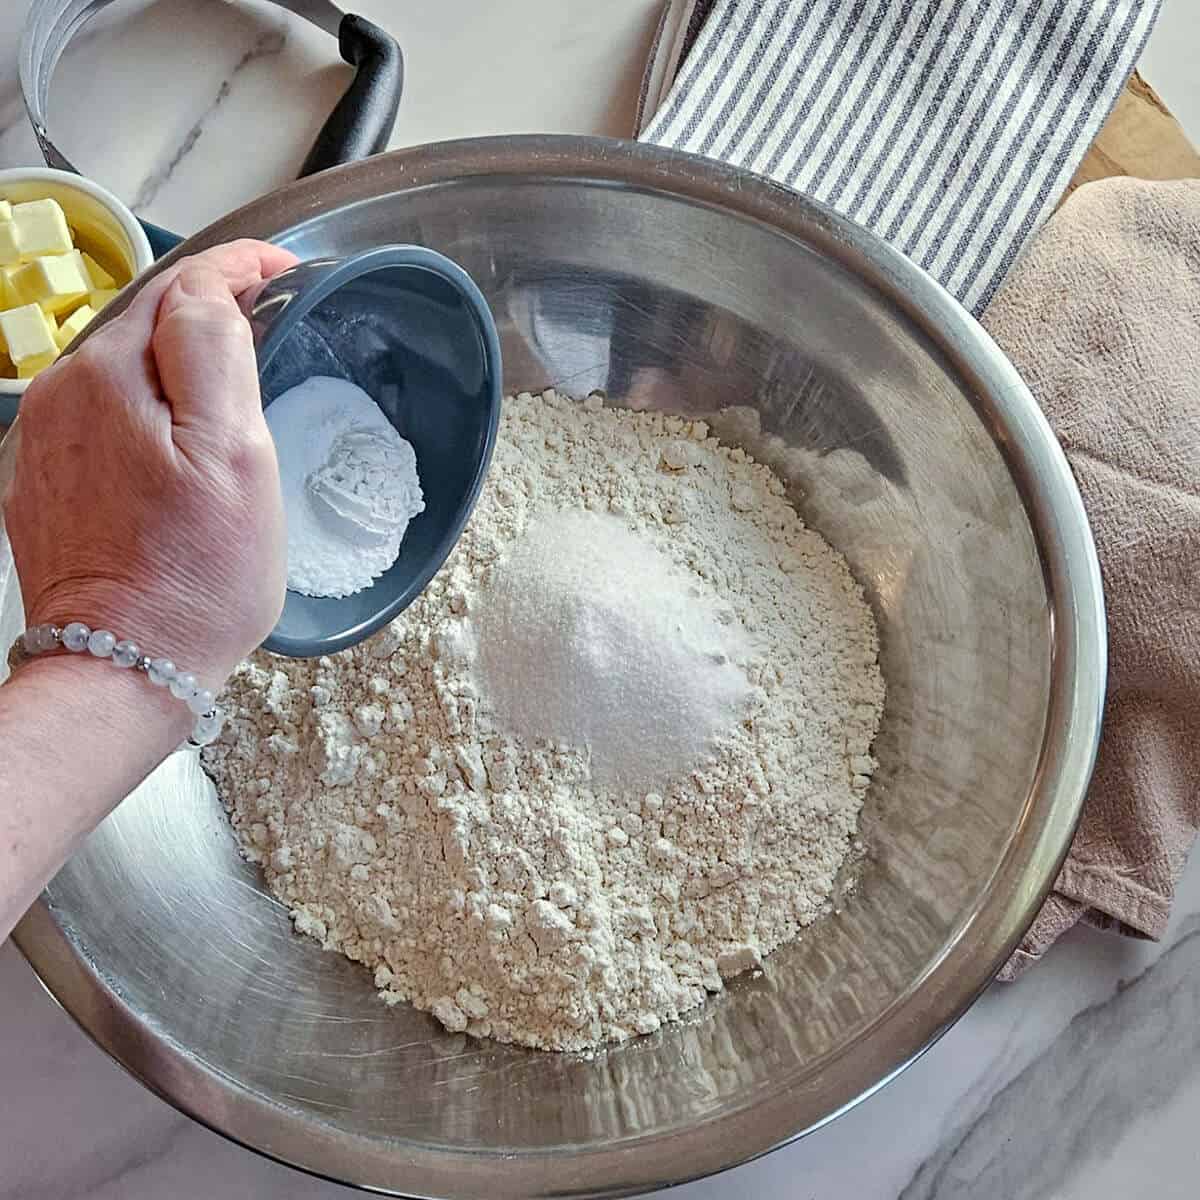
Add baking soda, baking powder, and salt, mix well.
Step Two - Cut in Butter

Using a pastry cutter, begin adding the softened unsalted butter, and cutting it in.
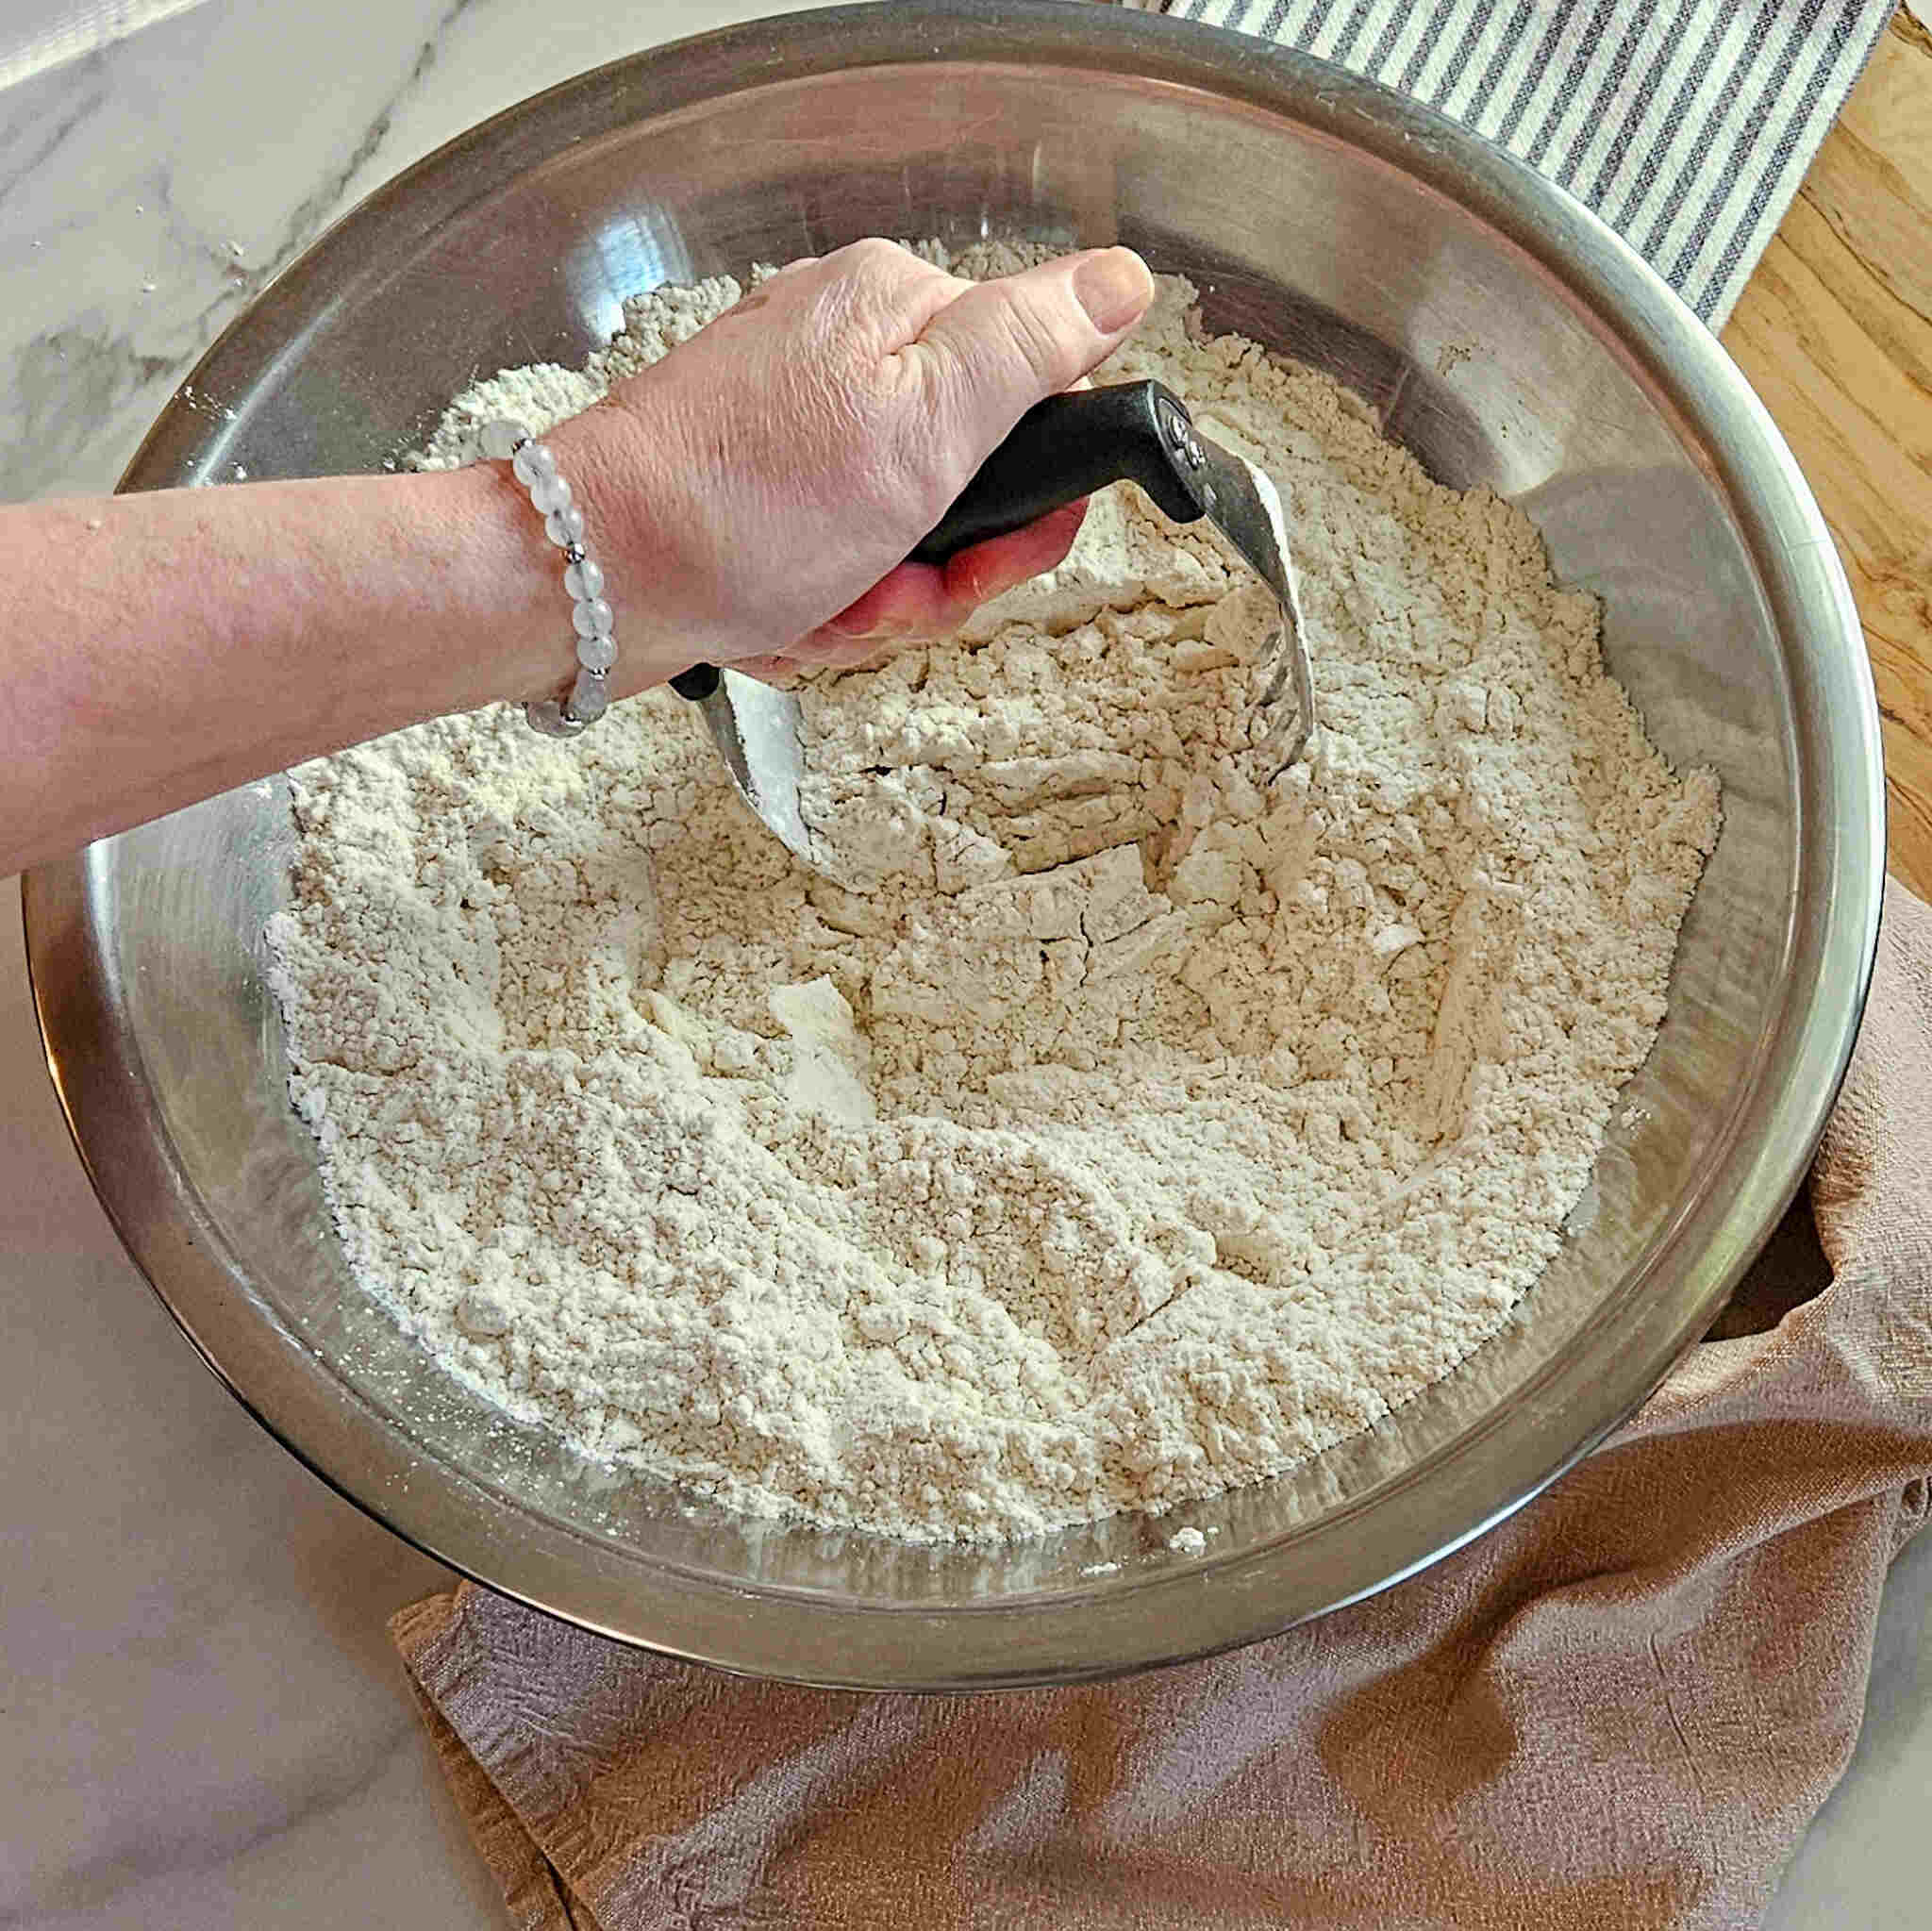
Continue using the cutter until the butter is thoroughly mixed in.
Step Three - Combine Raisins, Crack egg

Add the raisins to the bowl and mix in.
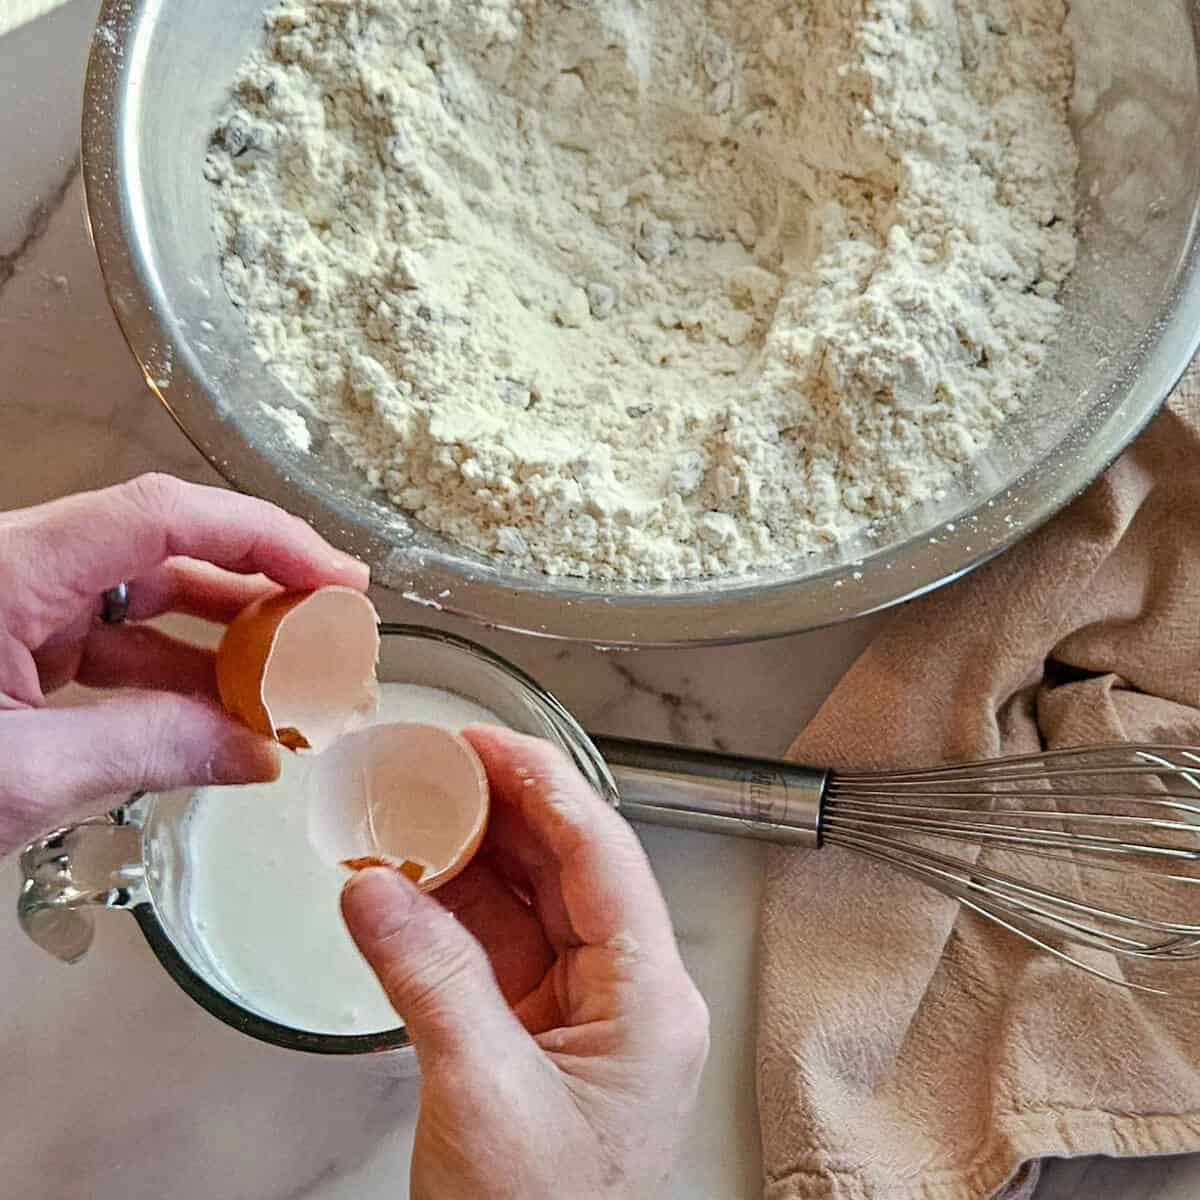
Crack the egg into the buttermilk.
Step Four - Mix and Add Wet ingredients
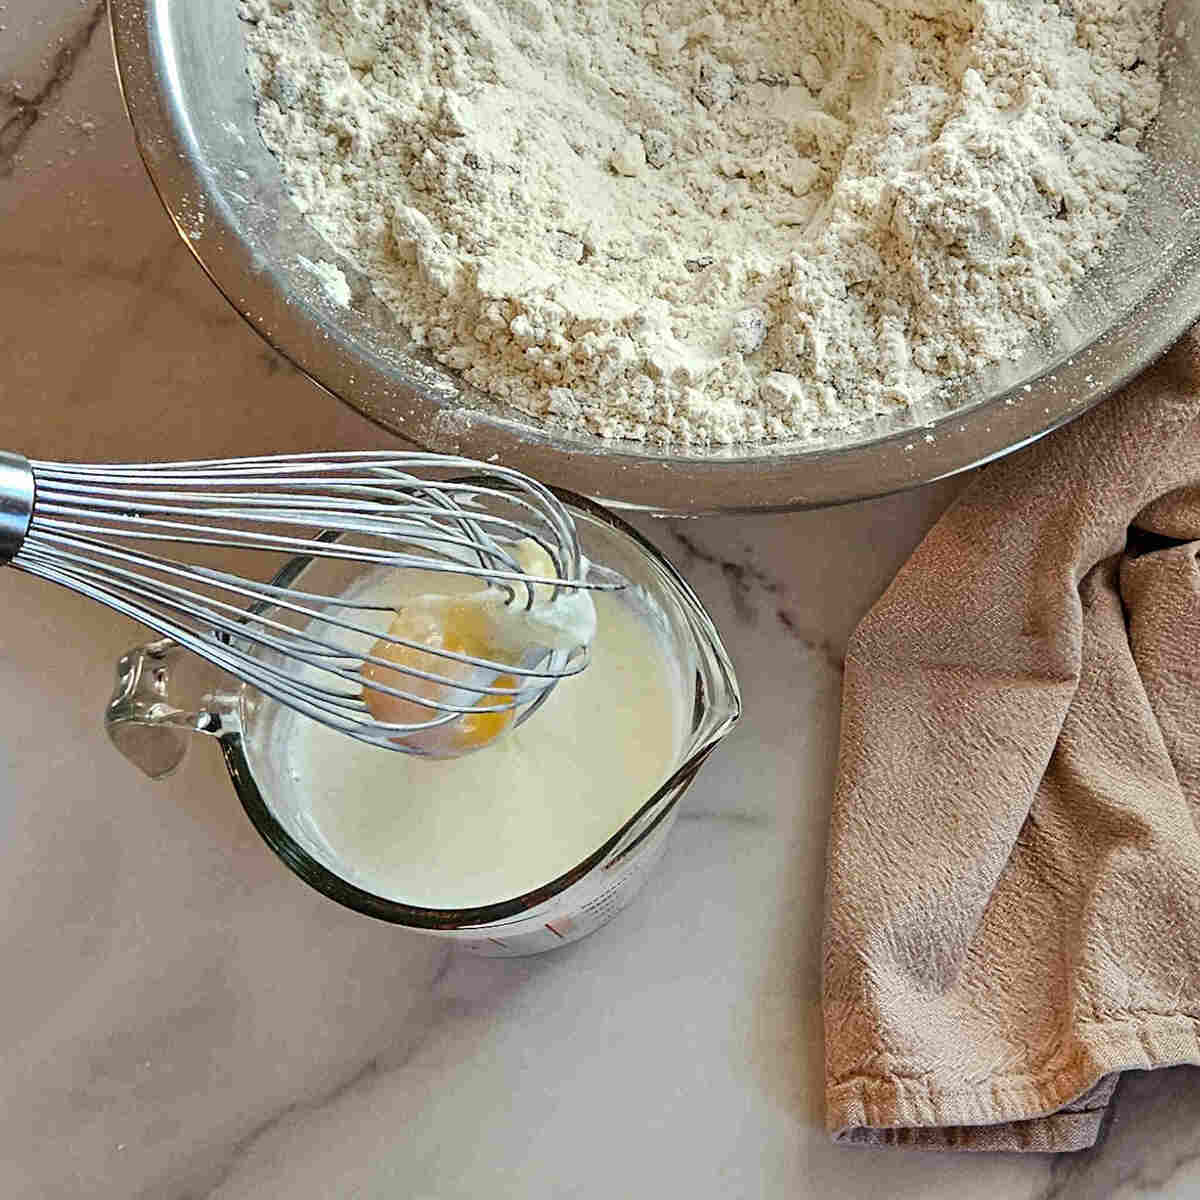
Whip the egg into the buttermilk until well combined, (use a small bowl if whisking in a measuring cup as shown is not an option).

Pour the liquid into the bowl.
Step Five - Mix and Form Dough
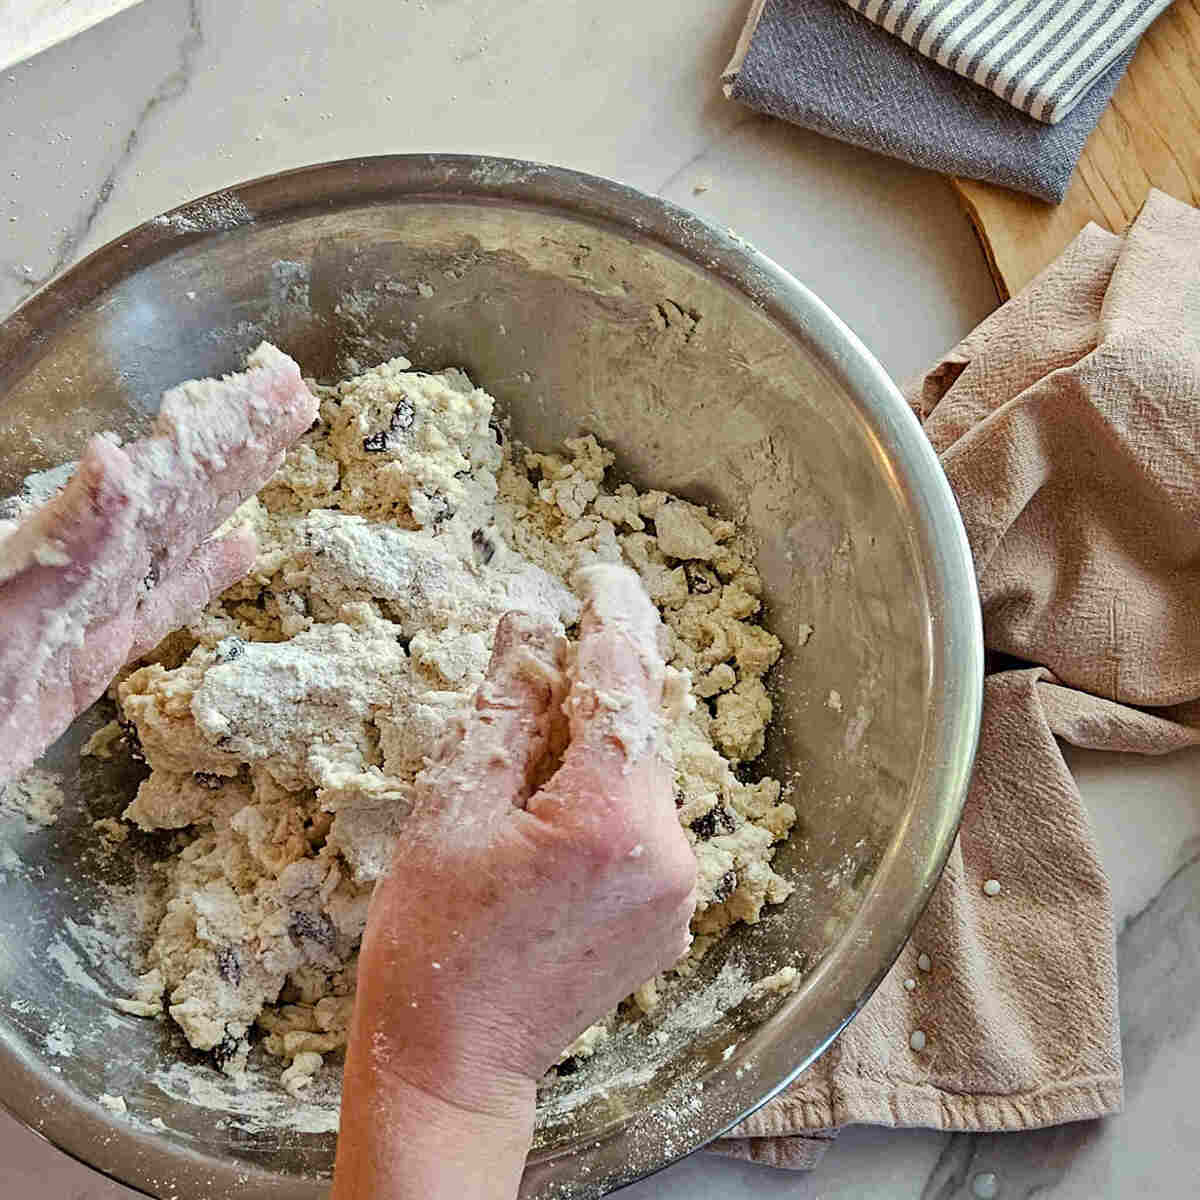
Work the mixture as briefly as possible, until it just comes together in a relatively sticky dough.
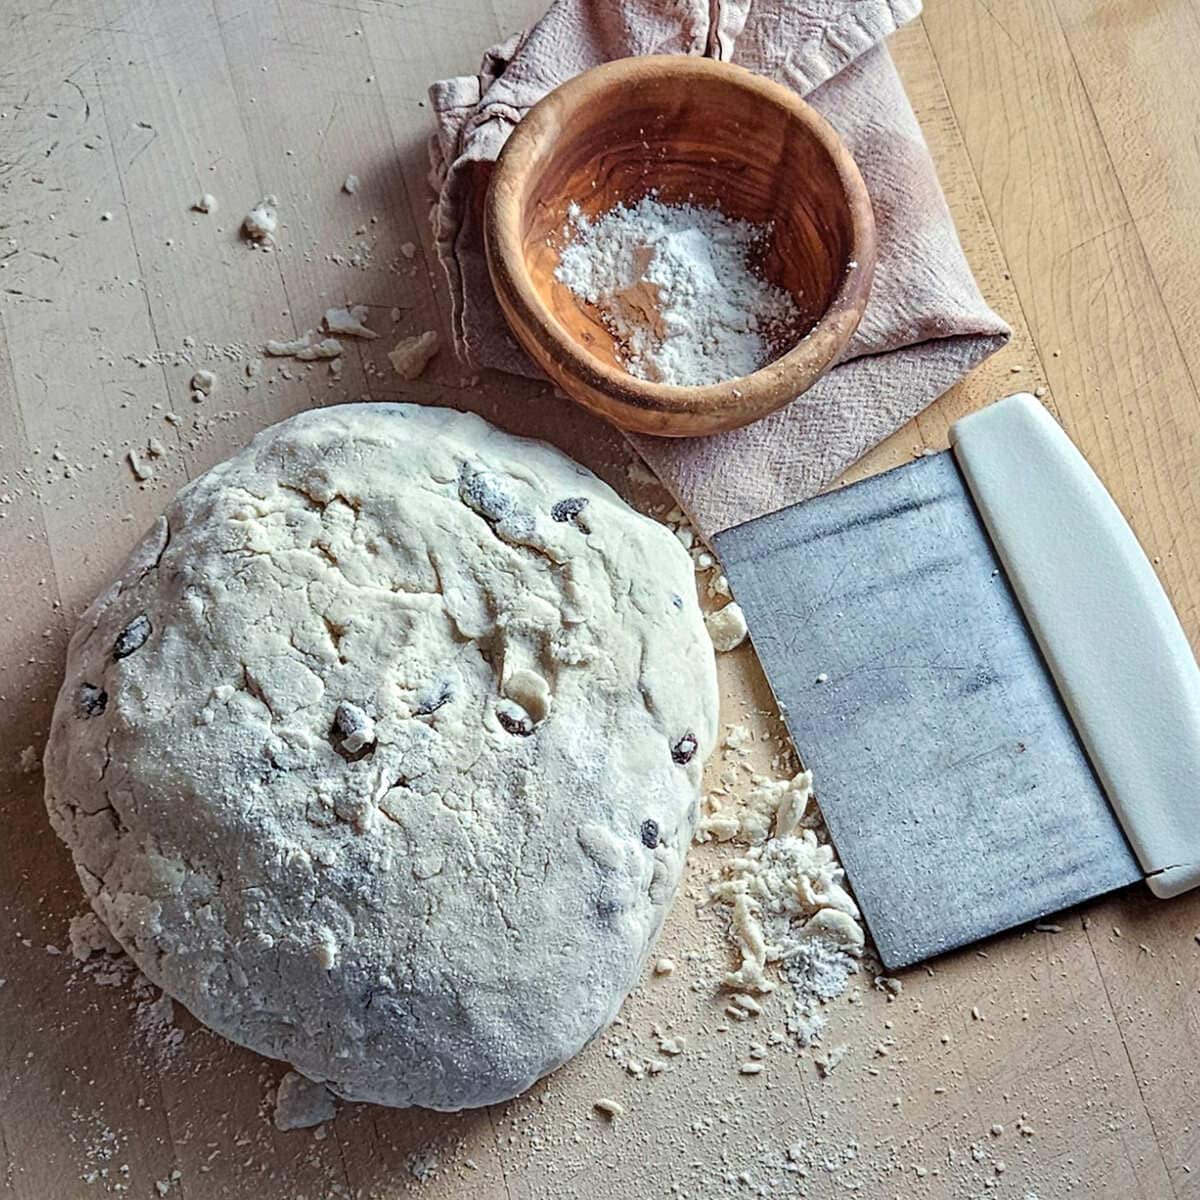
Scrape out of the bowl onto a lightly floured surface, (gluten free flour mix, of course), forming into a large ball.
Step Six - Cut and Portion Dough
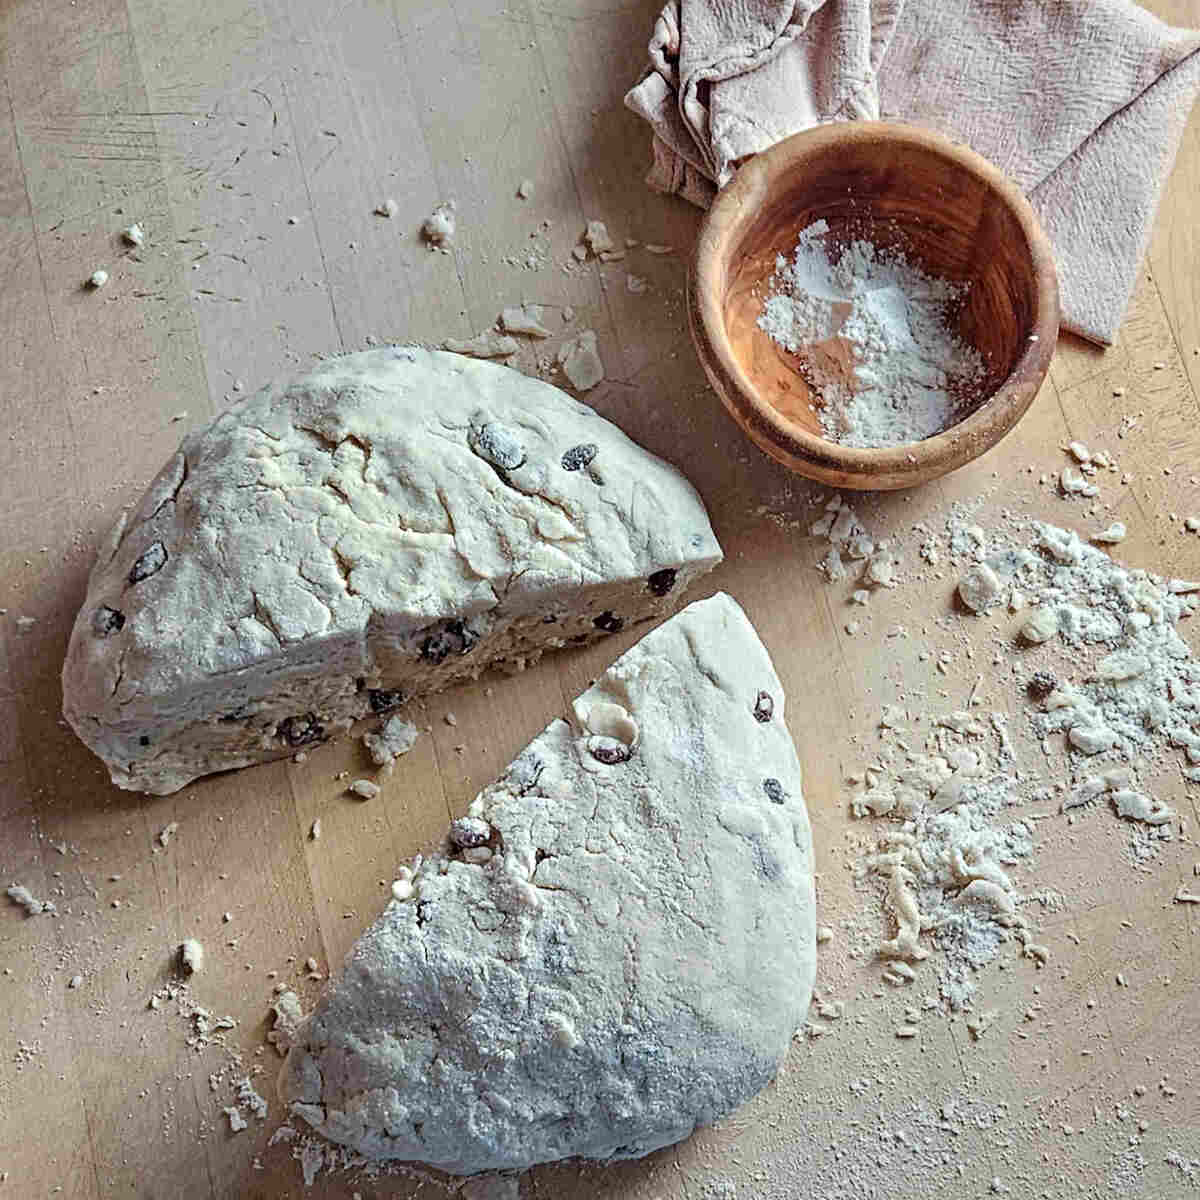
Cut the large ball in half.

Form the two halves into balls.
Step Seven - Pan and Score Loaves

Place the loaves on a lightly floured baking sheet.

Cut a cross onto the top of the dough using a sharp knife. This is to help it rise more evenly, as well as it's believed to help ward off evil spirits!
Step Eight - Brush and Sugar Dough
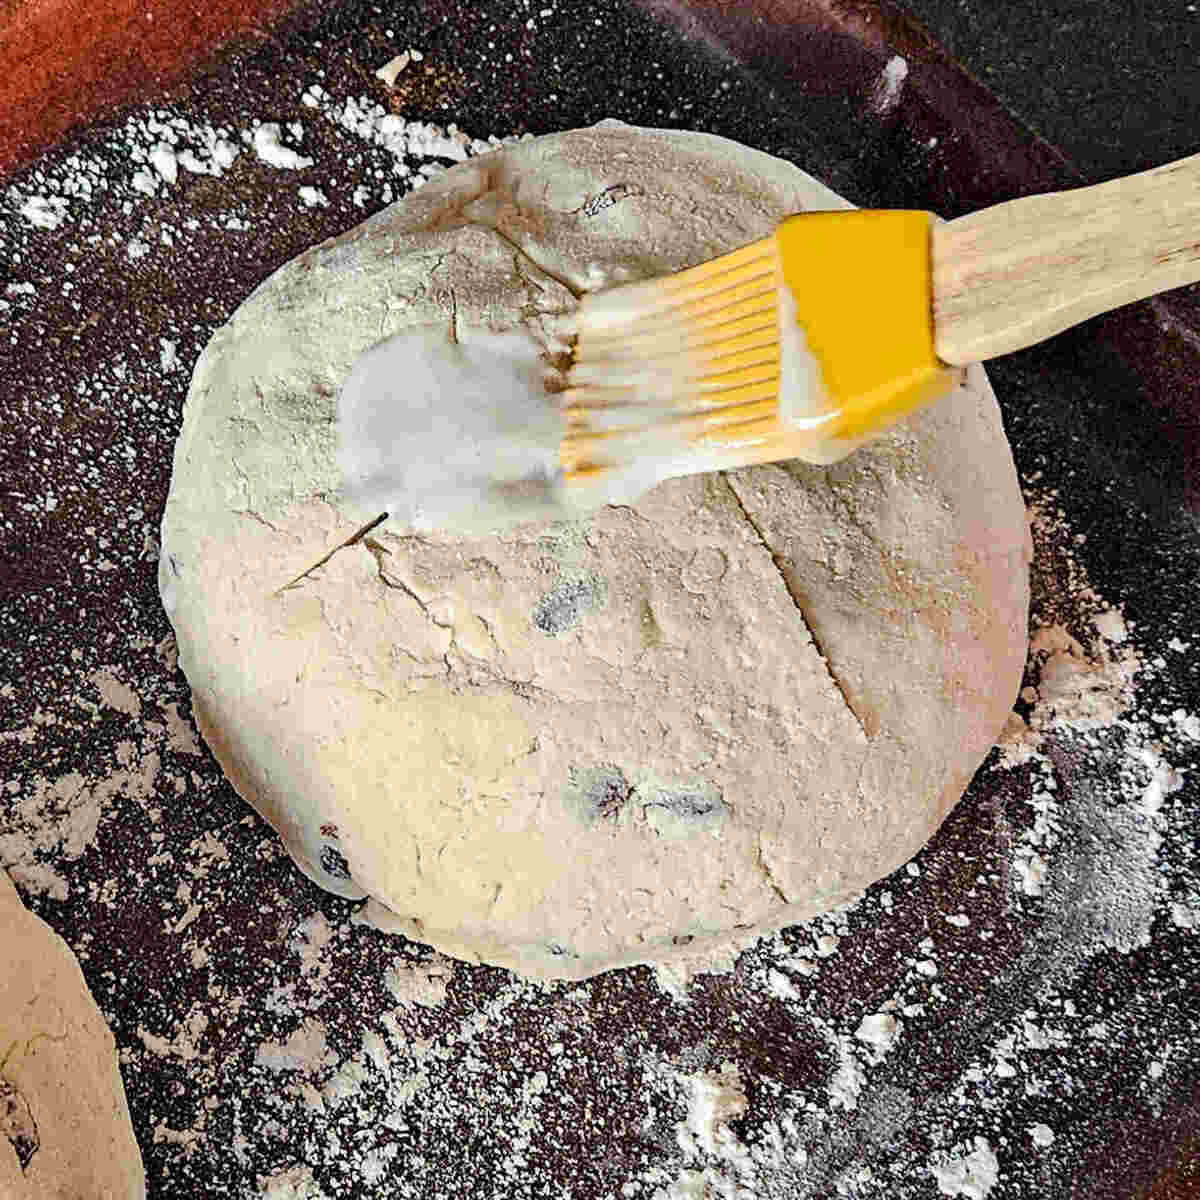
Brush the tops of the bread with a little more buttermilk.

Here we're sprinkling a little sanding sugar on top to help it brown. If you would like, regular granulated sugar will also work, it's just a little harder to spread evenly.
Step Nine - Bake and Serve
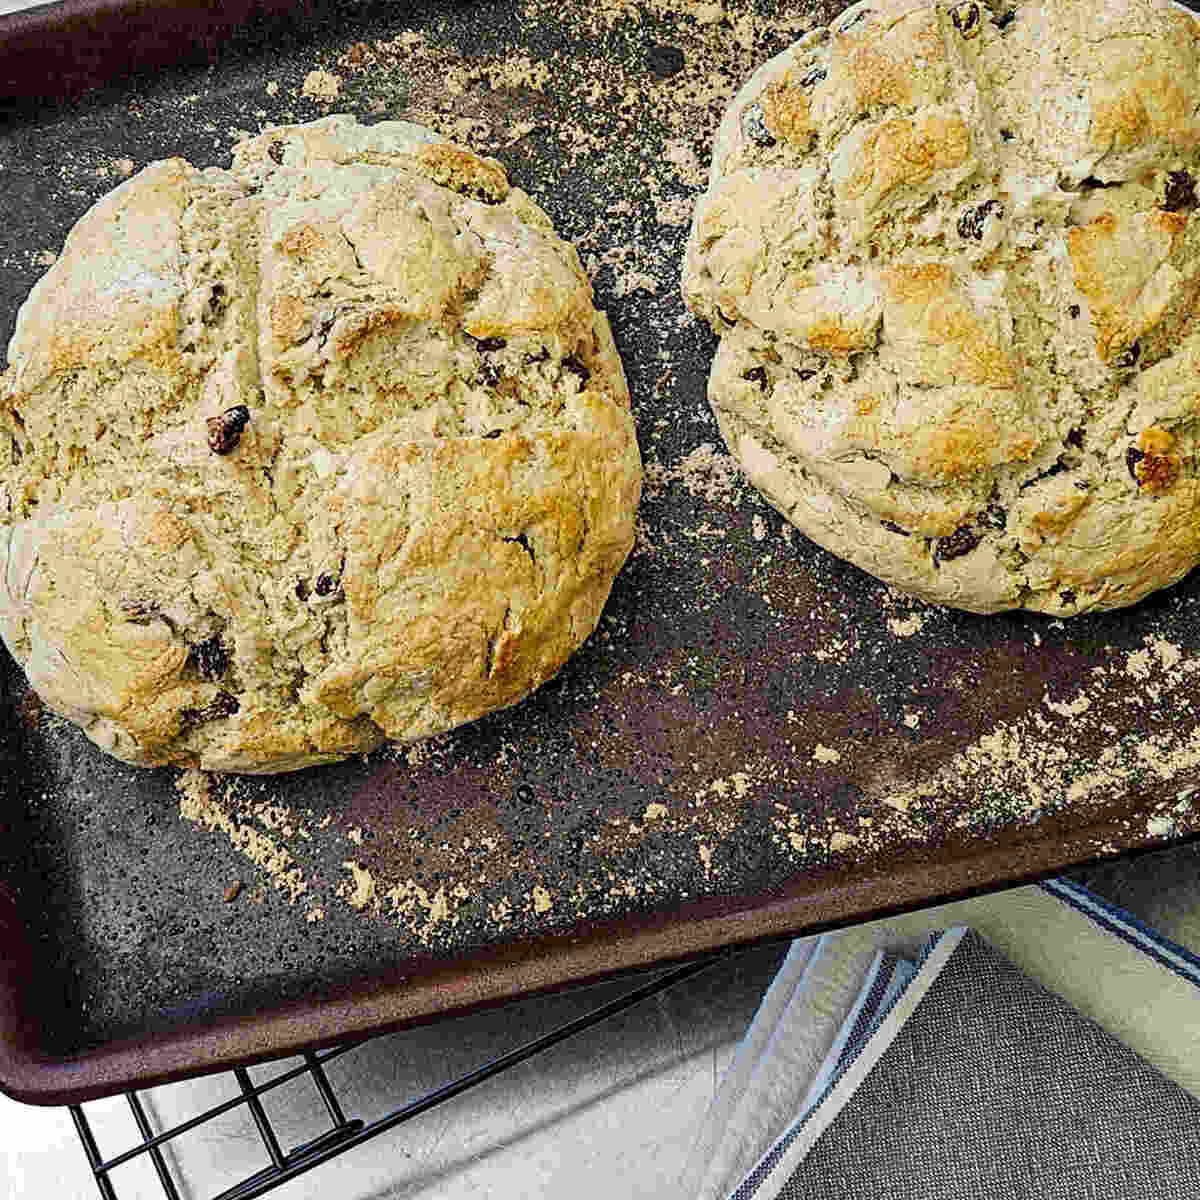
Bake at 375 degrees for 25 minutes, turn the pan, and continue for another 25 to finish.

Slice when cooled, and serve with butter.
Helpful Hint
Many folks may not think of this, but make sure to check the expiration date on the box of baking soda! Once a certain amount of time has passed in storage, baking soda will lose it's ability to react to acid and produce carbon dioxide bubbles. Adding old soda will result in a complete failure to rise, making a "gluten free brick" in place of bread!
Variations
If you follow the basic formula for this gluten free bread, it creates a pretty great blank slate for variations!
- Dried Fruit - We know that raisins are not everyone's favorite, so if you would like, you can use dried cranberries, blueberries, etc., go for it!
- Caraway Seeds - These seeds that are most often associated with rye bread are a quite common addition to this recipe, and do give it a very interesting flavor.
Equipment
- Mixing Bowls - You'll need at least a large one of these, but buying this set will mean that you will never need to buy any more!
- Measuring Cups - Whether you would like to use the Pyrex type, or a metal set, measuring is super important in baking.
- Measuring Spoons - Having a complete set of these is also invaluable.
- Pastry Cutter/Dough Mixer - For "cutting" the butter into the flour.
- Pastry Brush - We use these so often.
- Sheet Pan/Baking Sheet - Don't just buy the cheapest ones, you really do get what you pay for here.
Storage
When covered tightly in plastic wrap, this gluten free soda bread will keep for up to 2 days, but don't worry, it probably won't be around that long, anyway!
Chef Tip
A very common mistake that many home cooks make when making a quick bread for the first time is over mixing it. When making a yeast bread, the kneading and resting process helps the yeast to activate. When using baking soda as a leavening agent, the action takes place right away and dissipates rather quickly. Once the dough is mixed up, the timer is ticking, make sure to get it in the oven rather quickly!
Related
Looking for other recipes like this? Try these:
Gluten Free
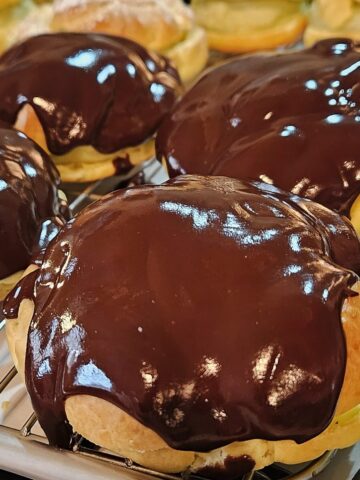
- Dark Chocolate Ganache
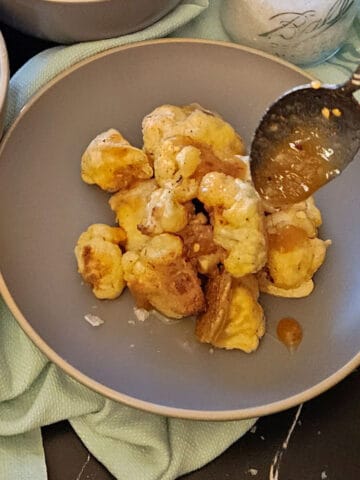
- Gluten Free Crispy Baked Cauliflower Bites Recipe
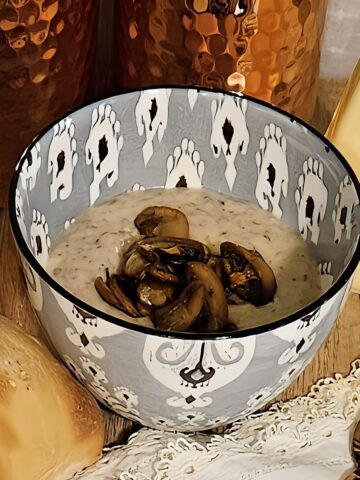
- Creamy Mushroom Asiago Soup
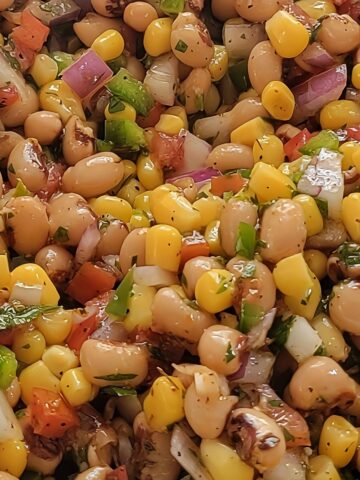
- Black Eyed Pea Salad
Recipe

Gluten Free Soda Bread
Equipment
- 1 Large mixing bowl
- 1 liquid measuring cup
- 1 Set measuring spoons
- 1 Set measuring cups
- 1 dough blade or chef's knife
- 1 pastry cutter
- 1 wire whisk
- 1 baking sheet pan
- 1 Cooling rack
- 1 Small knife
- 1 pastry brush
Ingredients
- 5 cups 1x1 Gluten free flour
- 1 teaspoon Kosher salt
- 1½ teaspoon Baking soda
- 1 teaspoon Baking powder
- 4 tbsps. Sugar
- 1 tablespoon Sanding sugar or granulated sugar
- 5 tbsps. Butter unsalted and softened
- 3 cups Buttermilk plus a little for brushing on the top of the loaves
- 1 large Egg
- 1 cup Raisins
Instructions
- Preheat the oven to 375℉
- In a large bowl combine the gluten free flour with, the sugar, baking powder, baking soda, and salt. And mix well, distributing all of the ingredients evenly.
- Cut the butter into small cubes. Add the cubes to the dry ingredients, and using a pastry cutter, cut the butter into the dry ingredients.
- Measure the buttermilk using a liquid measuring cup. You could just crack the egg into the measuring cup or use a small bowl. Using the wire whisk combine the buttermilk and egg.
- Create a well in the center of the dry ingredients in the large mixing bowl, Pour the egg and buttermilk into the center of the well. Using your hands combine the wet and dry ingredients, (this is a sticky process) you might need a little more flour or a bit more buttermilk. Feel free to adjust as needed, creating a slightly sticky dough.
- Turn the dough out onto a lightly floured surface. and create a large round loaf. Cut the loaf in half, creating two round loaves.
- Lighty flour the surface of a baking sheet pan, we like to use a stone baking pan. Place the loaves on the pan about 4-5 inches apart.
- Using a small sharp knife, cut a cross into the tops of each loaf. Gently brush the tops of the loaves with buttermilk, and sprinkle with sanding sugar (granulated sugar will work as well).
- Bake for 25 minutes then turn the pan 180° to evenly brown the loaves, and bake for an additional 25 minutes. Remove the loaves from the oven and place them onto a cooling rack. Cool for about 30 minutes before slicing.










Jason Miller
Great gluten free recipe.