Strawberry Shortbread Cookie - We love shortbread cookies, they're so buttery. Add in some ripe red strawberry flavor, and they're even more scrumptious! Sticky sweet jam, crunchy strawberry bits in the dough, what's not to love?

These strawberry jam shortbread cookies are a great way to say "I love you" when you use some heart shaped cookie cutters, like we did for Valentines day.
Baking can be intimidating, as it is a bit of a science project to get it just right. Even perfecting a chocolate chip cookies recipe can be daunting, believe us, we know, (give that one a try though, it's sumptuously simple). It's hard to find recipes that are dependable and easy.
That's why it's such a refreshing change to prepare some shortbread. With some flour, butter, and sugar, the basics are already covered. These delicious sweet treats only need some freeze dried strawberries, and some strawberry jam added to the mix. You can even make the dough way ahead of the time, and bake them when it's convenient!
Jump to:
Newest Recipe!
Lexington Style BBQ Sauce
This sauce is an all time classic. Easy, quick, and made with ingredients you probably already have!
Ingredients

- Freeze Dried Strawberries - Freeze dried products have really become trendy and a lot more widely available in the last couple of years, and these strawberries are one of the things that really make this cookie recipe something special. Why freeze dried, you may ask? You don't want to add too much moisture to the cookie dough or else it just won't set up, and regular dried strawberries are lovely, but are also very chewy. The light and airy crunch of crushed freeze dried berries is just perfect.
- Butter - As pretty much always, high quality, unsalted butter is best, so we can control the level of seasoning better.
- Flour - We prefer unbleached, all purpose flour.
- Salt - These strawberry cookies really do benefit greatly from the salt in the recipe, since it has so sweet and simple of a base.
- Brown Sugar - The hint of rich molasses in light brown sugar not only provides a rich flavor, but a little moisture as well.
- White Sugar - We can't just use the brown sugar or the dough will be too wet, so we need some granulated sugar also.
- Strawberry Jam - This is not in the picture, but there are so many choices out there, just use one that you really enjoy. Jam or preserves specifically provide a little more texture than jelly does. We really adore this brand, with it's tiny wild type strawberries in it!
See recipe card for quantities.
Instructions
Step One - Getting Started
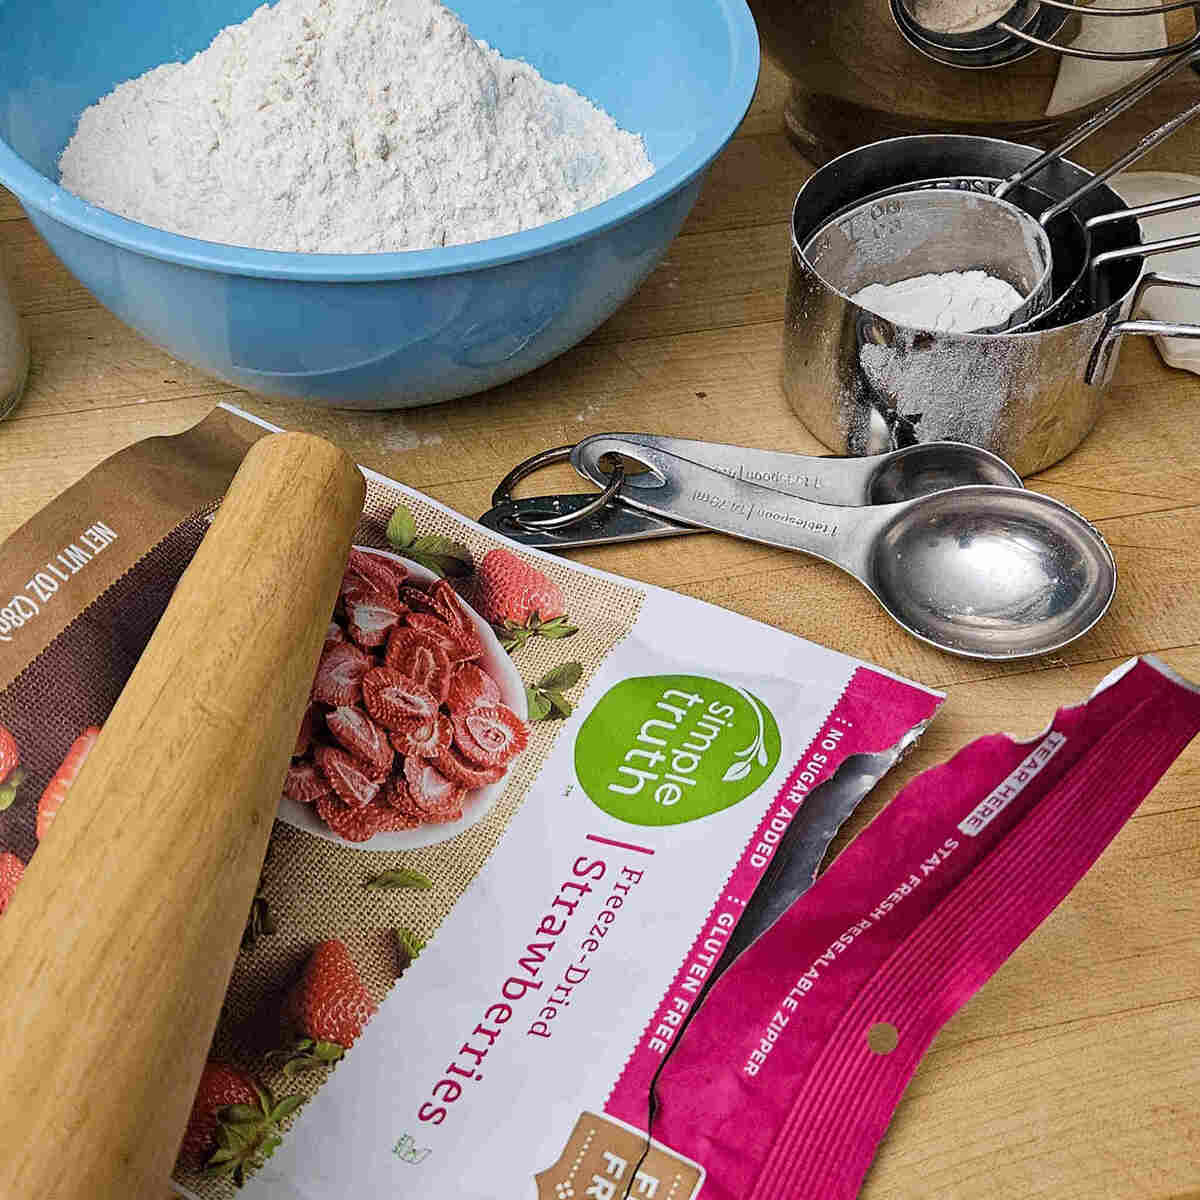
Using the bag to hold them together, use a rolling pin and smash the strawberries. You'll want them to be pretty small, but not quite powder. The little crunchy bits are a nice textural surprise.
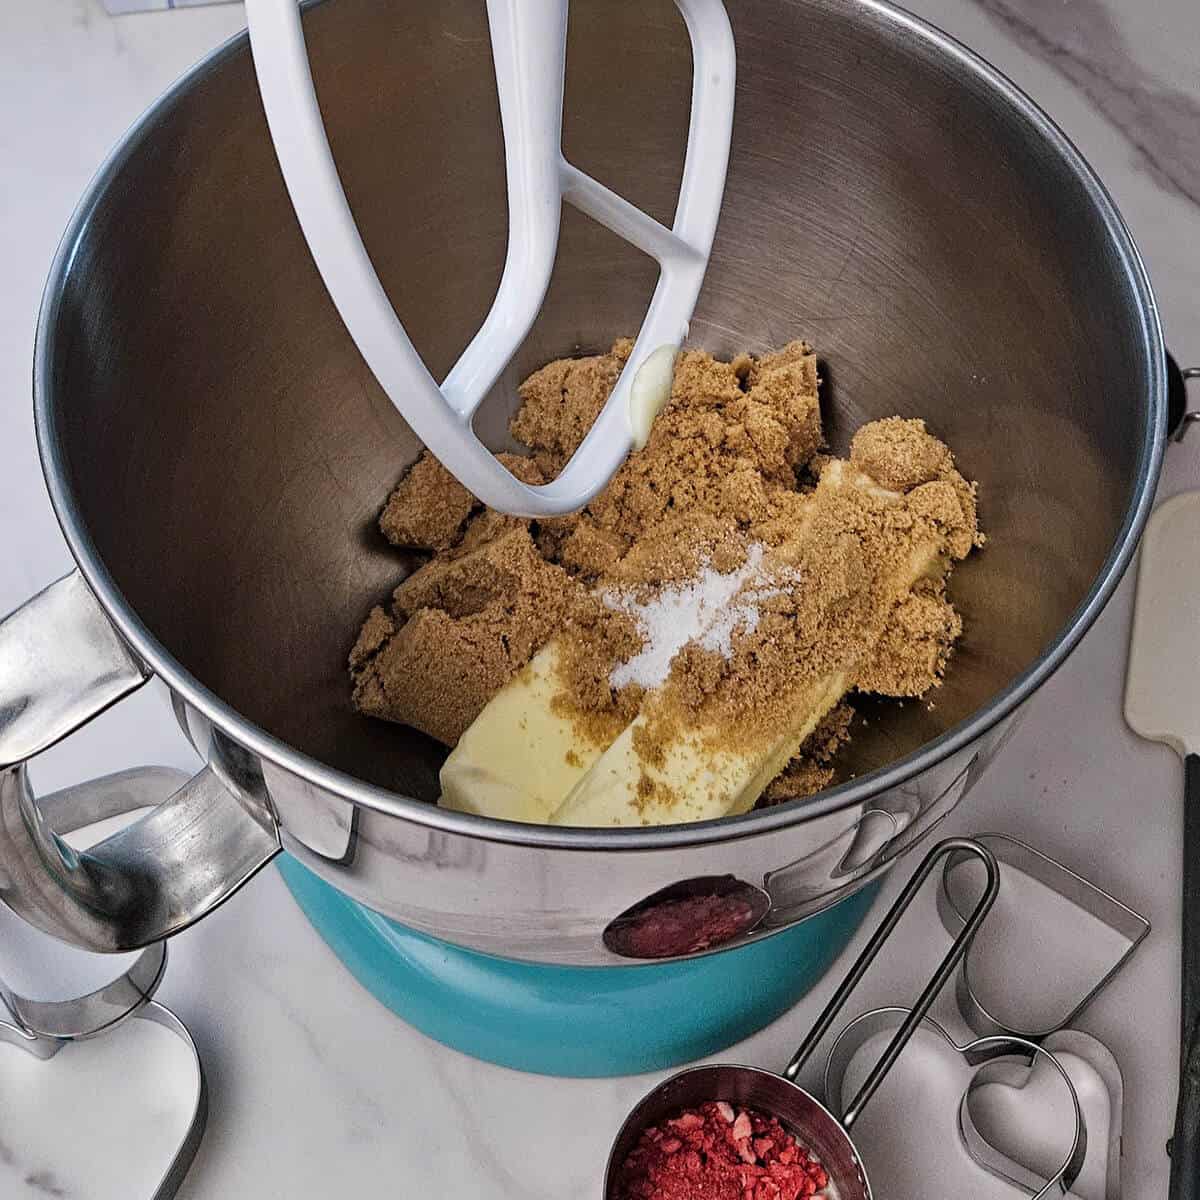
Combine both sugars, butter, and salt in a stand mixer, (or in a bowl with a hand mixer).
Step Two - Mixing the Dough
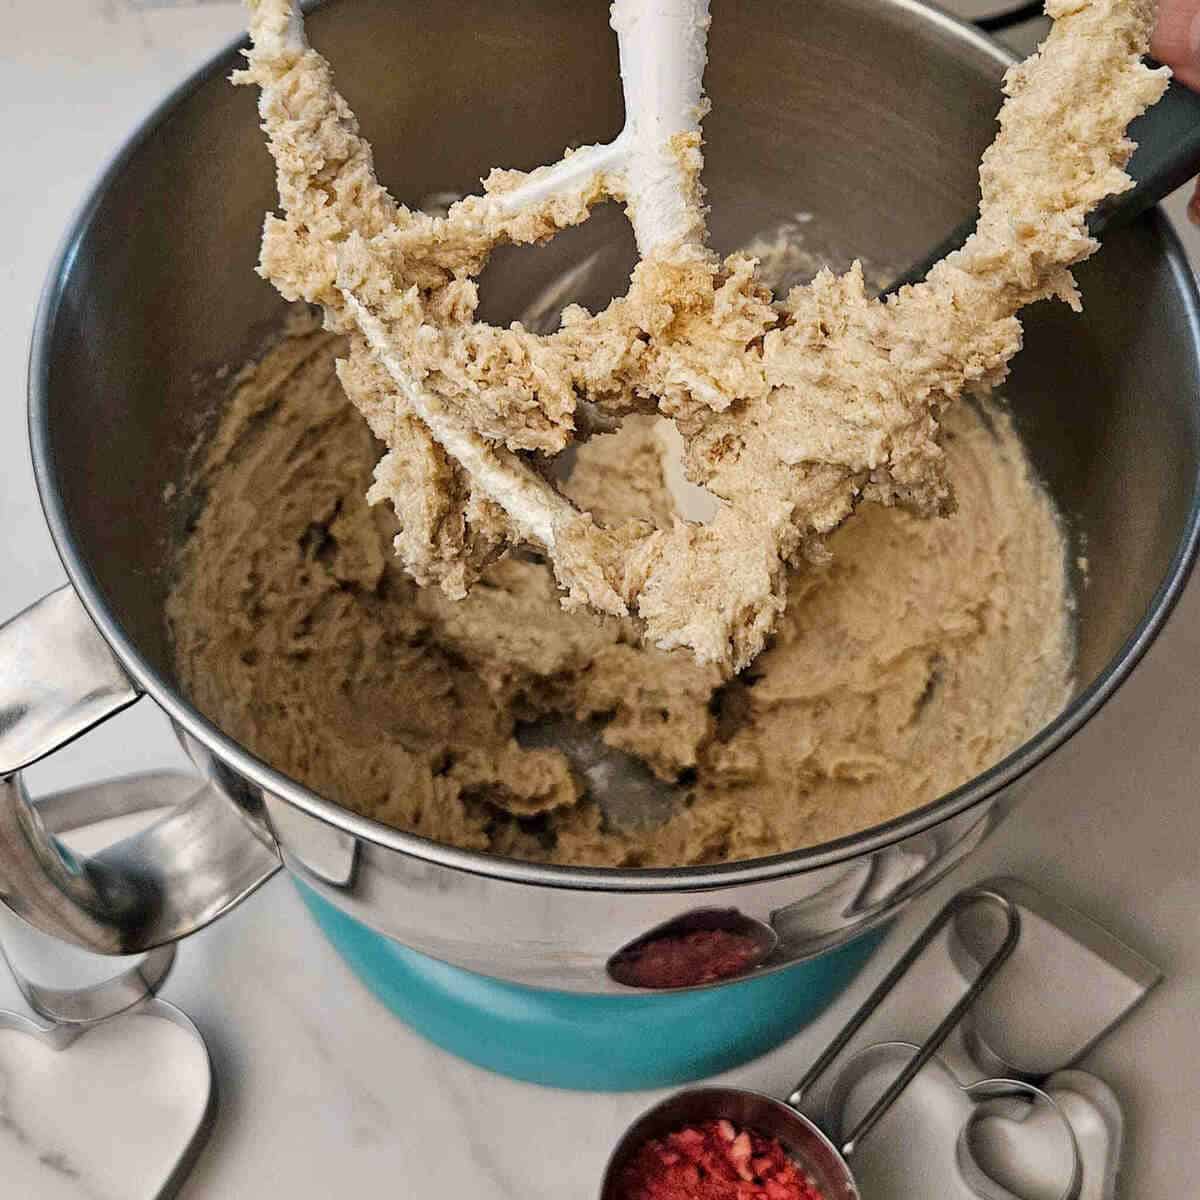
Mix the first parts together until well incorporated, this part is called "creaming".

Add flour in two steps, 1 cup at a time, scraping the sides of the bowl down in between, so that everything mixes well.
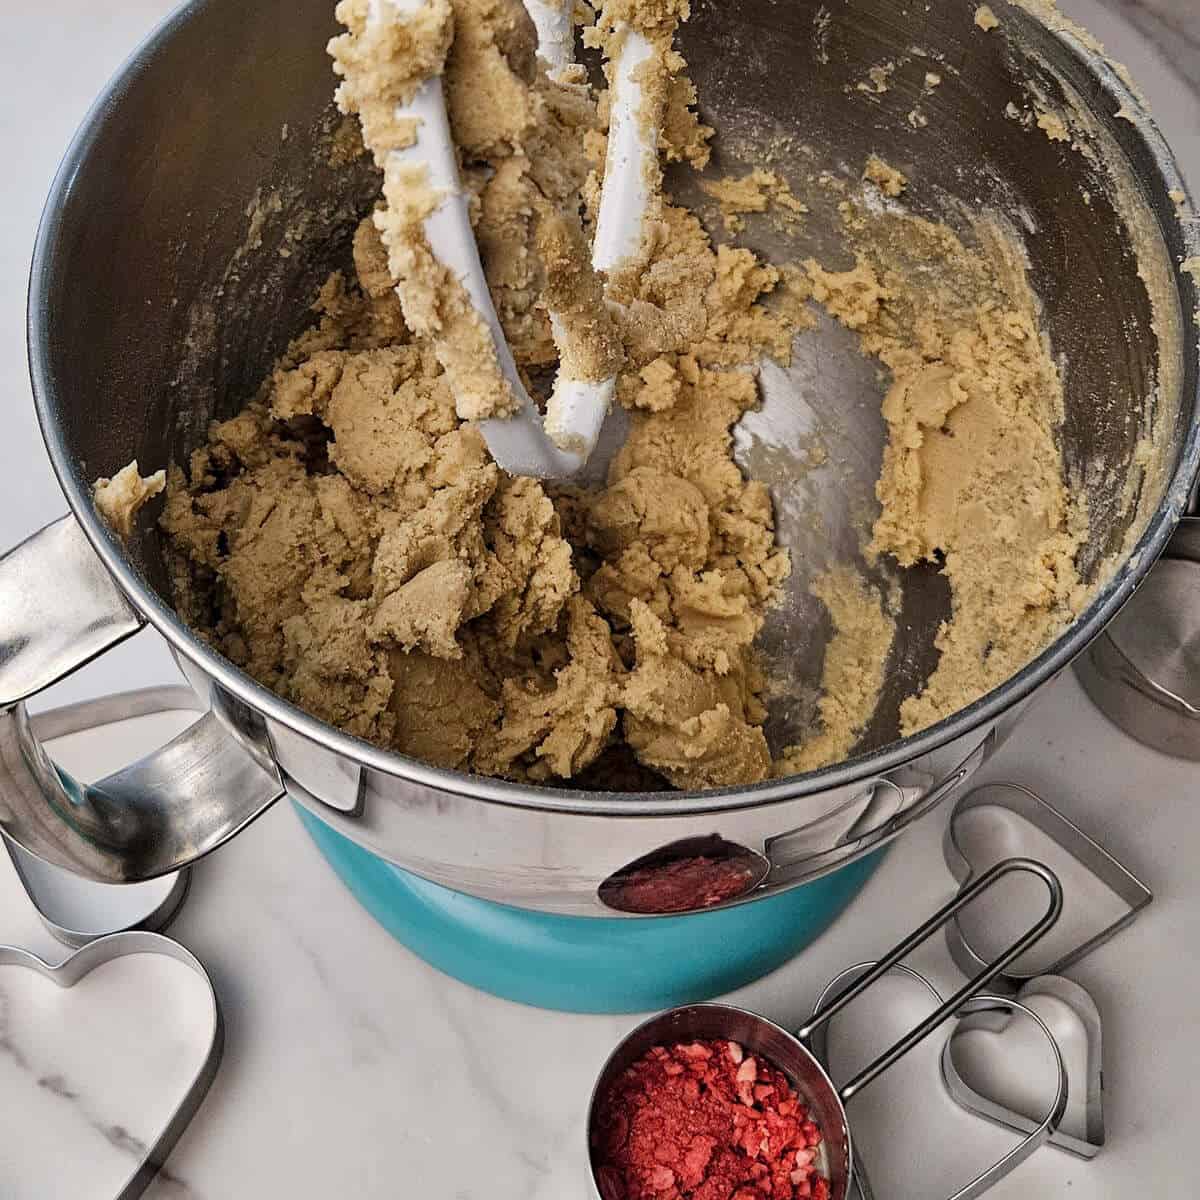
Once the flour is mixed in well, the dough should look like this.
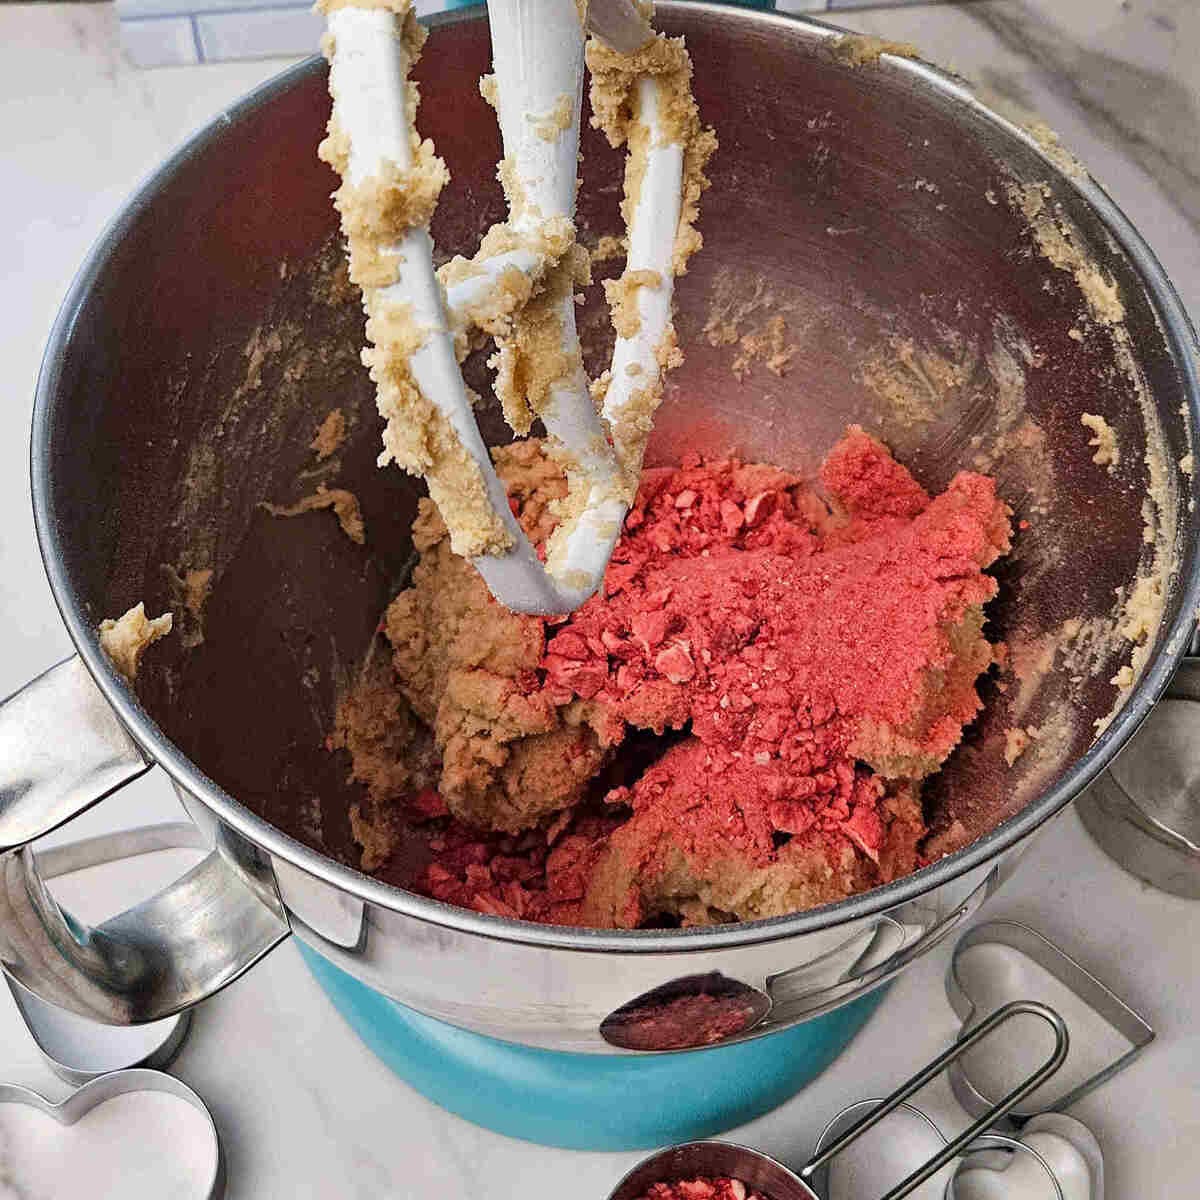
This is when the strawberries come into play. Add them to the dough and mix them in on low speed so as not to over mix.
Step Three - Finishing the Dough
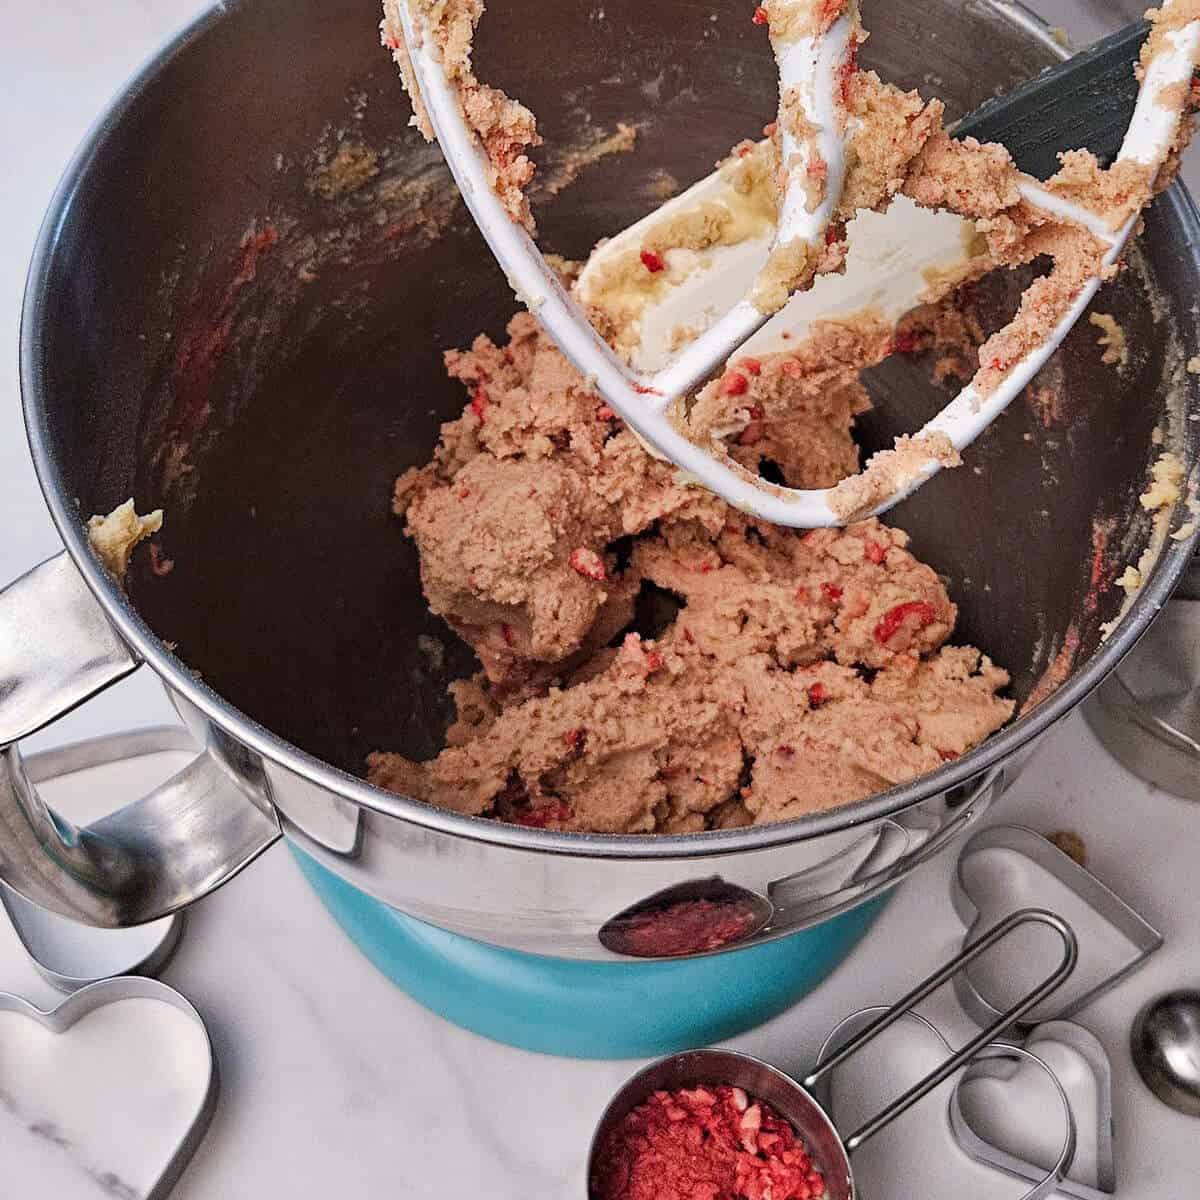
Once the strawberries are mixed in well, the dough will have this appearance, ( reminds me a little of crunch berries cereal!)
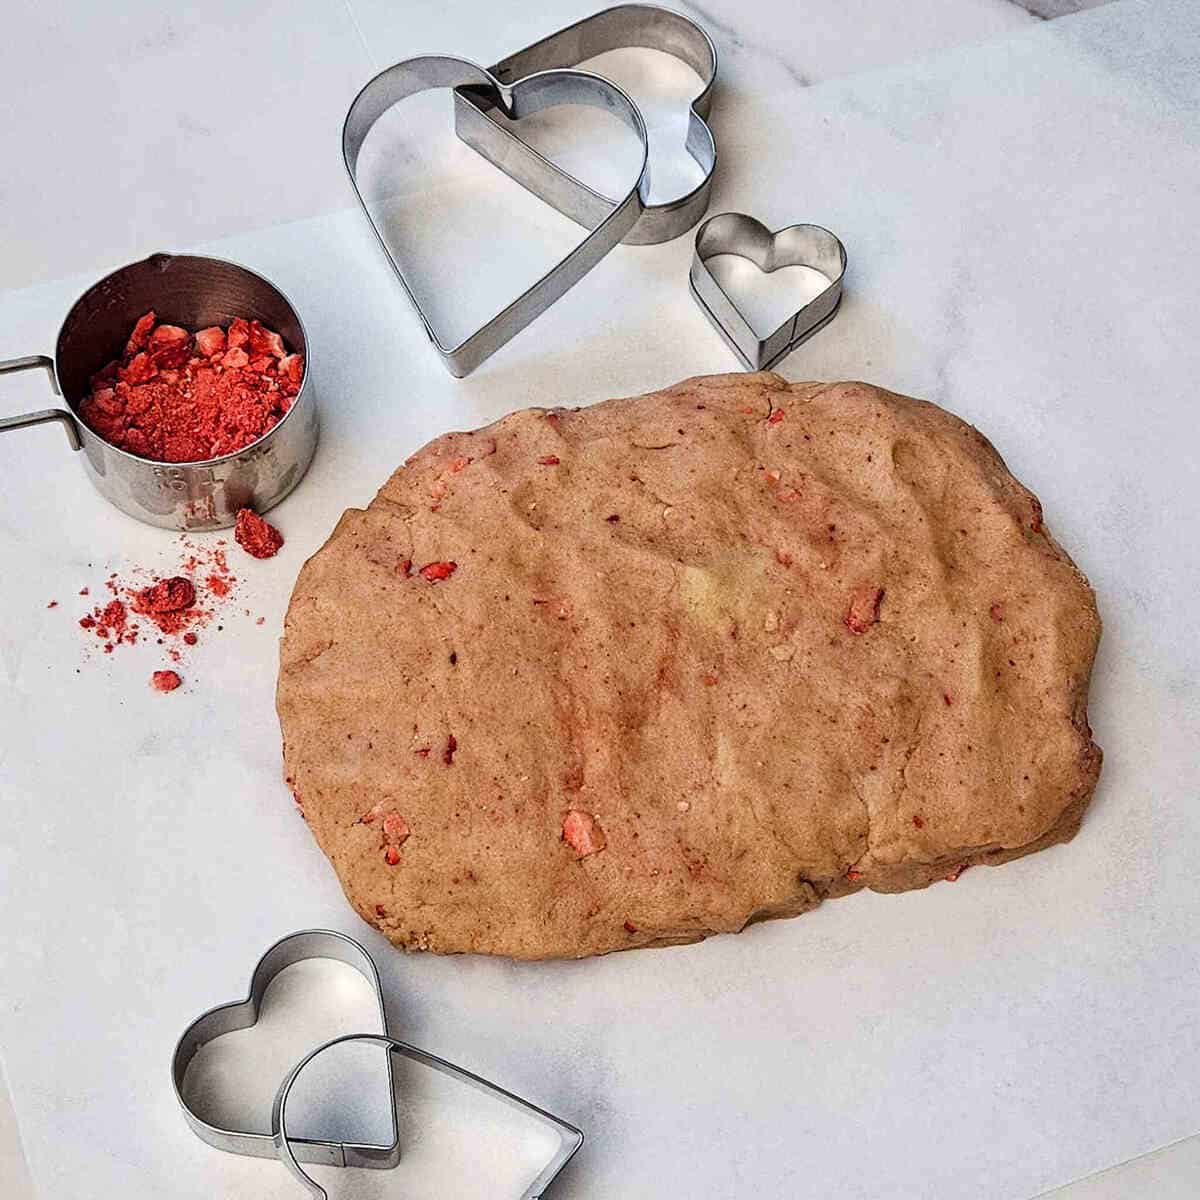
Scrape it fully out of the mixer and mold it together by hand into a single mass, on a piece of parchment paper.
Step Four - Resting and Rolling Out the Dough
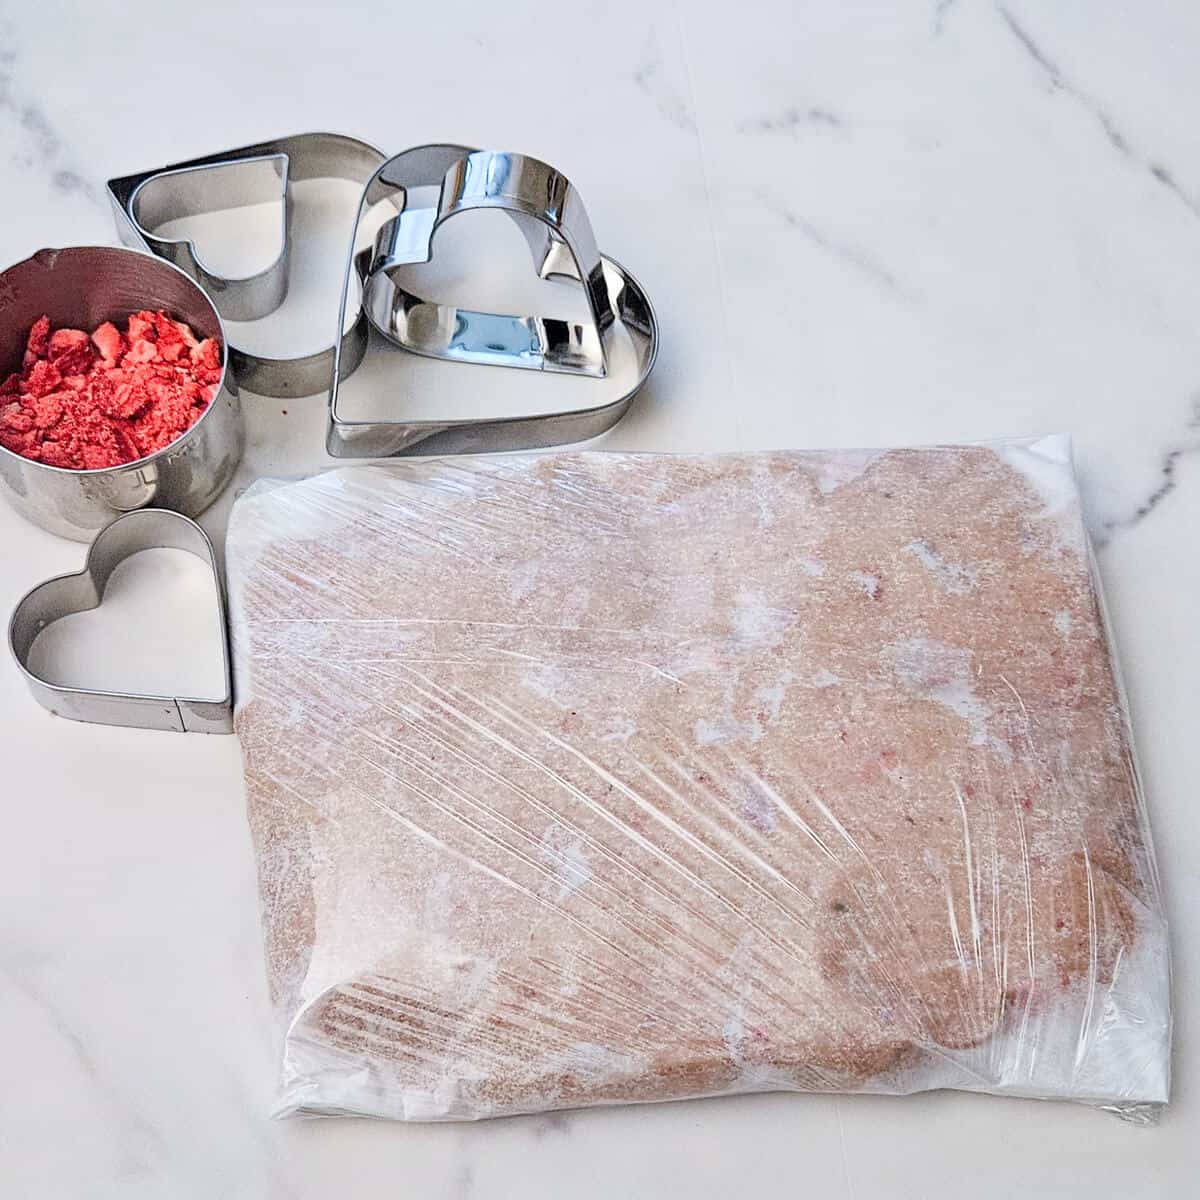
It's important to wrap the dough up and refrigerate it for a time to allow it to rest. This will make for a more tender and less dense texture. We suggest overnight, but at least 4 hours will work.
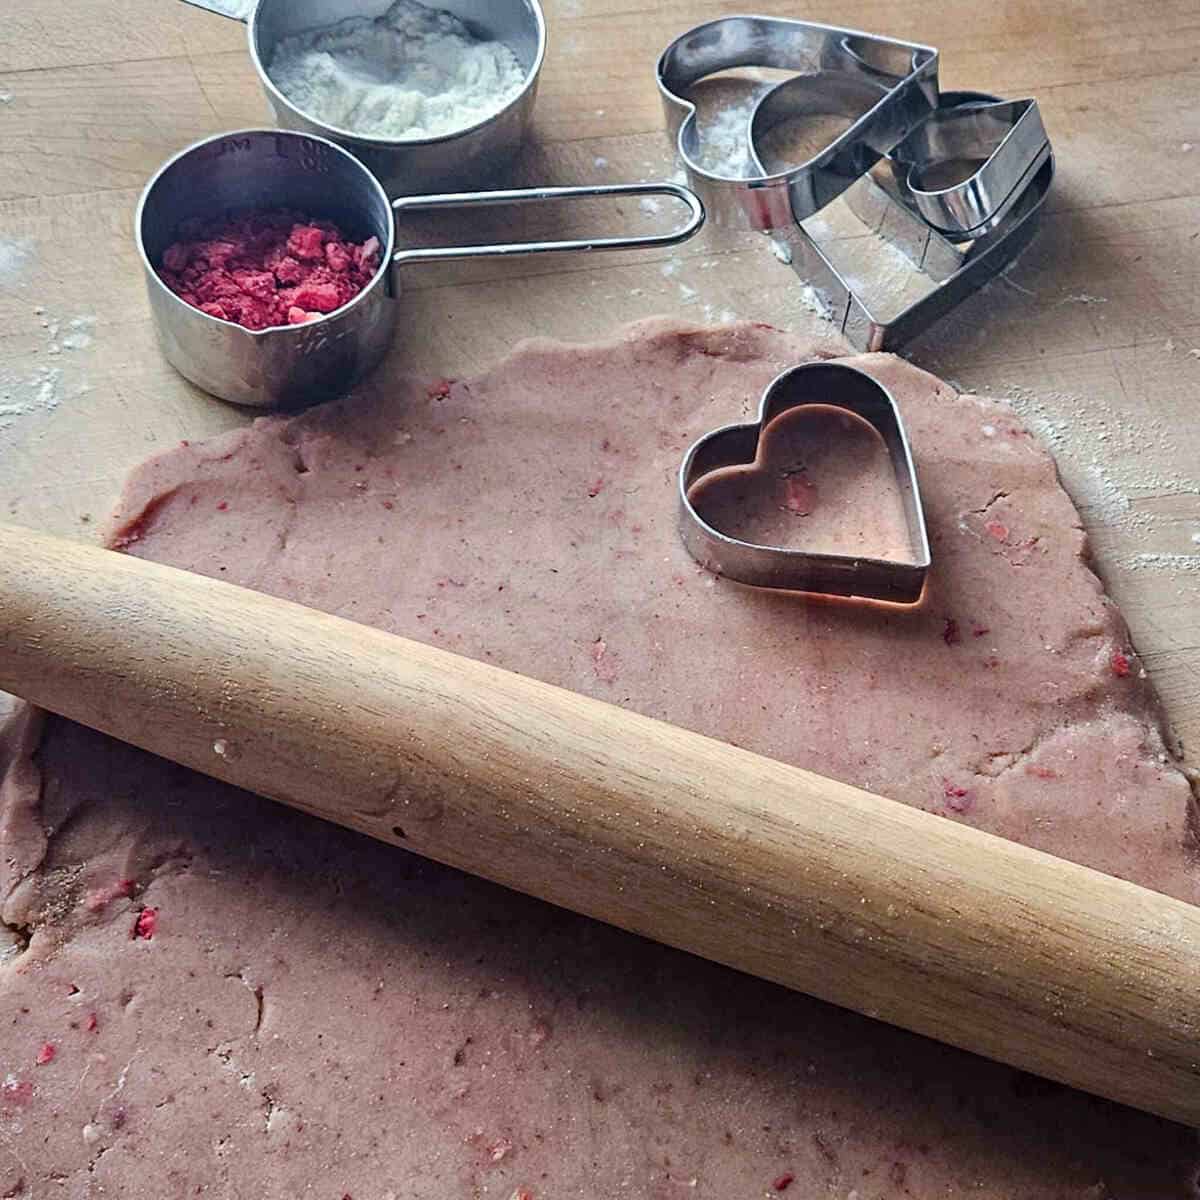
Pull the dough out of the fridge, allow for 20 minutes or so for it to lose some of it's chill, and then roll out on a lightly floured surface until about ½ inch thick.
Step Five - Cutting the Cookies
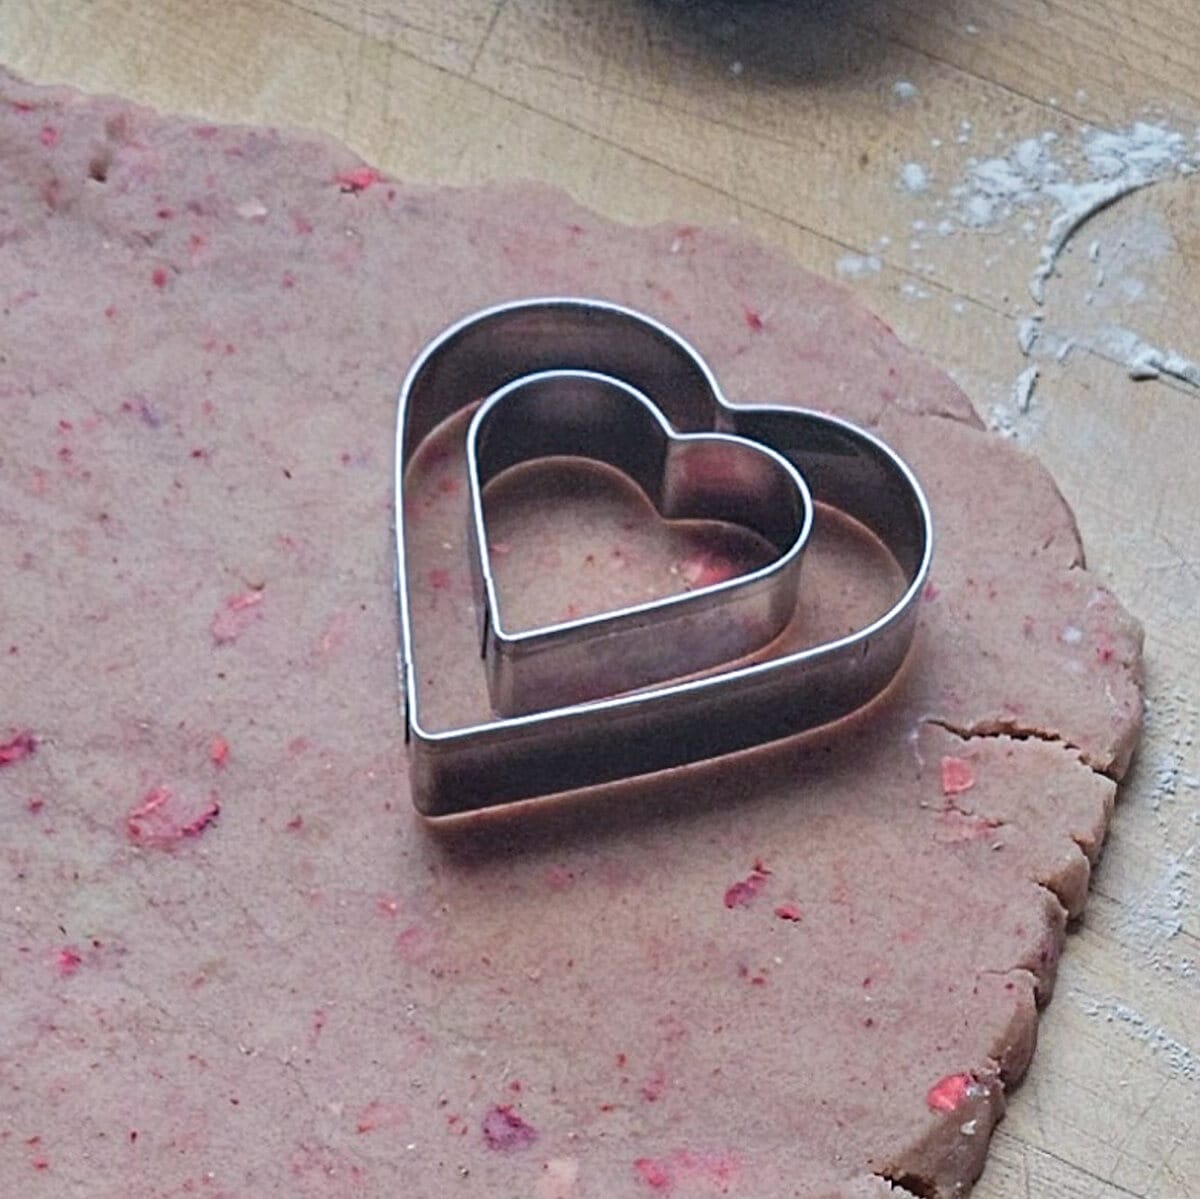
Cut the top portion of the sandwiches as shown, using the smaller cutter to make the hollow center. Remember that you will need an equal number of bottom cookies that do not have a cut out.

Here you see the results of cutting the dough out to the proper shapes. Handle them with care, as they can be quite brittle at this point.
Step Six - Cooling, and then Baking

Place the finished cookie "pucks" onto a paper lined sheet pan and place into the freezer for 30 minutes. In the meantime, heat your oven to 350 degrees. When the cookies come out of the freezer, pop them straight into the oven for 9 minutes, and then let them cool to room temperature.

Spread the jam across the bottom cookies, and sandwich the tops on.

The finished sandwiches look lovely with a little sprinkling of powdered sugar. You will also have little "bonus" cookies from the cut out middles!
Helpful Hint
The step where the finished dough goes into the refrigerator to rest before being worked with is absolutely essential. When that flour gets worked together with all of the other ingredients, it can create some gluten, which will make the texture of the finished cookies way to dense and even chewy, which is not what you want. Leaving it to rest overnight, (or at least 4 hours), allows the gluten to relax, and eliminates this possibility.
Equipment
A lot of this recipe relies on being able to mix everything together very efficiently and evenly. Using a high quality mixer makes this super easy. We cannot tell you how much we love our Kitchenaid mixer for this reason. There are a lot of choices out there, but there is definitely something to an all-time classic that is just tried and true like these appliances.
Storage
The finished cookies will hold at room temperature in an airtight container for up to 5 days before going stale.
If you would like to make the cookie dough in advance, it can be stored tightly wrapped in the refrigerator for up to 5 days before baking, or in the freezer for up to a month.
Chef Tip
Once the cookies have been formed, make sure to get them really cold again in the freezer while the oven is heating. The flour is ideally well hydrated with the butter, and as such, needs to be cold before baking so that it doesn't just melt and separate, creating a mushy blob.
Related
Looking for other recipes like this? Try these:
Bake Shop
- Dark Chocolate Ganache
- Giant Cinnamon Rolls With Cream Cheese Icing Recipe
- Matcha Green Tea Cream Puff Filling Recipe
- Pate Choux (Cream Puff Dough)
Recipe

Best Strawberry Shortbread Sandwich Cookie Recipe
Equipment
- 1 Stand Mixer fitted with the paddle attachment ,or a Handheld mixer fitted with the dough attachments, and a separate mixing bowl
- 2 baking sheet pans
- 1 Rubber Spatula
- 1 Measuring Spoon Set
- 1 Measuring cup set
- 1 Rolling Pin
- 1 Set of Cookie Cutters round cutters will work great
- 3 Pieces of Parchment Paper
- Plastic wrap as needed
Ingredients
- 2 cups Flour AP
- 8 oz Butter (2 sticks) unsalted and softened for 2 hours at room temperature
- ¼ cup Brown Sugar packed
- ¼ tsp. Salt
- 1 oz Freeze Dried Strawberries one 1 oz bag, crushed, hold back 2 tablespoons for garnish
- ½-1 cup Strawberry Jam
- Powdered Sugar as Needed for Garnish
Instructions
- Pull the butter from the refrigerator 2 hours before you mix the dough.
- Using a rolling pin, smash up the freeze-dried strawberries, keeping them in the bag helps keep them all together.
- Add the butter, the brown sugar, white sugar, and salt to the mixing bowl of a stand mixer fitted with the paddle attachment. You can use a handheld mixer fitted with the dough attachments, and a separate mixing bowl.
- Cream the butter, sugars, and salt together on medium to high speed. Scrape down the bowl with a rubber spatula and mix again until well combined.
- Add the flour one cup at a time, mixing on low to medium speed until combined, scraping down the bowl with a rubber spatula in between.
- Add the crushed freeze-dried strawberries and mix on low to combine.
- Place a piece of parchment paper on a board or countertop, scrape out the dough onto it. Using your hands push the dough together forming a flat rectangle.
- Wrap the dough tightly in the parchment paper and plastic wrap. Allow it to rest in the refrigerator overnight or for at least 4 hours.
- When the dough is chilled, lightly flour a cutting board or countertop. Remove the dough from the wrappings and place it on the floured surface. Allow it to sit for about 20 minutes before rolling it out.
- Roll the dough out to about ½ inch thick, being careful to not let it stick to the board. If you need to release it from sticking use a dough blade or the flat side of a knife to shimmy under it to release it. Shortbread dough can be a bit crumbly, that's normal, just use your hands to push it back together as you roll it out.
- Using the cutters of your choice, cut out the tops and bottoms of your sandwich cookies. First cut a large sized cookie then use a smaller cutter to create the window.
- Make sure to cut an equal amount of tops and bottoms for your sandwich cookies. Place them carefully onto a parchment lined baking sheet pan, and into the freezer for 30 minutes while you preheat the oven to 350℉
- Separate the cut cookies onto 2 baking sheet pans lined with parchment paper, Spacing them about 2 inches apart. Bake at 350℉ for 4 minutes them rotate your pan and continue baking for 5 minutes.
- Cool to room temperature and spread the jam on the bottom cookie, place the cut-out cookie on top and garnish with reserved crushed strawberries and powdered sugar.
- Always keep in mind that you can push together the leftover scrapes from cutting out the cookies and wrap it tight with plastic wrap and either refrigerate or freeze to bake at another time. Make sure you at least refrigerate it for 4 hours before rolling and baking.













Jason Miller
Shortbread with strawberries, how can you go wrong?